Docs
Hosting and Deployment
Deploy your Hinode site to popular hosting providers.
As a static website, your Hinode site can be deployed virtually anywhere. Hugo provides a comprehensive overview of the more popular Deployment Solutions . Hinode uses a different build process compared to a default Hugo site. Review the Considerations for more details. The next paragraphs highlight the specific build and deployment process of Hinode for a few selected hosting providers.
Considerations
Before deciding on your hosting and deployment approach, review the following considerations.
-
Include npm in your build process
Hinode supports npm to automate the build process. Visit the Hinode Introduction and Commands Overview for more details.
-
Configure the build timeout
You might encounter timeout errors when you generate a large site that contains many resources (such as images). Adjust the
timeoutinconfig/_default/hugo.tomlas needed.timeout = "180s" -
Consider using build automation
Many popular Git providers provide the option to automate the build and deployment process ({{ abbr “CI/CD” >}}). You can trigger this process on each release to your main repository branch, or set up a preview during a Pull Request. The examples on this page assume you have a Git repository with GitHub.
-
Understand the support for custom domain names
Most hosting providers provide a subdomain, such as
<username>.github.io, to access your website by default. Usually you have the ability to use a custom domain instead, although additional services and configuration might be needed. -
Decide on multiregion and CDN support
Websites that serve a global audience might benefit from a multiregion or edge deployment to increase availability and reduce latency. You can also consider adding a dedicated CDN , which has the ability to reduce the impact of DDoS attacks for example.
-
Consider using custom HTTP headers
Hinode uses custom HTTP headers to enable the Content Security Policy. The support for custom HTTP headers varies per provider, and might need additional services and configuration.
The table below gives a brief overview of the features supported by a few selected hosting providers. The next paragraphs describe the build and deployment process for each provider in more detail.
| Feature | Azure blob storage | Netlify |
|---|---|---|
| Automation | Custom action | |
| Custom domain name | Requires Azure CDN | |
| CDN / Edge network | Requires Azure CDN | |
| HTTP headers | Requires Azure CDN |
Host on Azure Blob Storage
Azure supports hosting a static website directly from its blob storage. The service is Available for Free for the first 12 months (conditions apply). The next sections describe how to configure the cloud storage correctly and how to deploy your website from your local computer to Azure.
Assumptions
- You have a Hinode website you are ready to deploy.
- You do not already have a Azure storage account.
Preparations
The configuration folder should include a file config/production/deployment.toml. If not, copy it from the
Hinode Main Repository
. The deployment file contains the settings used by the command hugo deploy. The panel below shows the default deployment settings for Azure blob storage. A more detailed example is available on the
Hugo Website
.
# By default, files are uploaded in an arbitrary order.
# Files that match the regular expressions in the "Order" list
# will be uploaded first, in the listed order.
order = [".webp$", ".jpg$", ".gif$"]

[targets]
name = "hinode"
URL = "azblob://$web"

[[matchers]]
# Cache static assets for 1 year.
pattern = "^.+\\.(js|css|svg|ttf)$"
cacheControl = "max-age=31536000, no-transform, public"
gzip = true

[[matchers]]
pattern = "^.+\\.(png|jpg|webp)$"
cacheControl = "max-age=31536000, no-transform, public"
gzip = false

[[matchers]]
# Set custom content type for /sitemap.xml
pattern = "^sitemap\\.xml$"
contentType = "application/xml"
gzip = true

[[matchers]]
pattern = "^.+\\.(html|xml|json)$"
gzip = trueConfigure Your Site
Deploy your site to Azure blob storage in six steps.
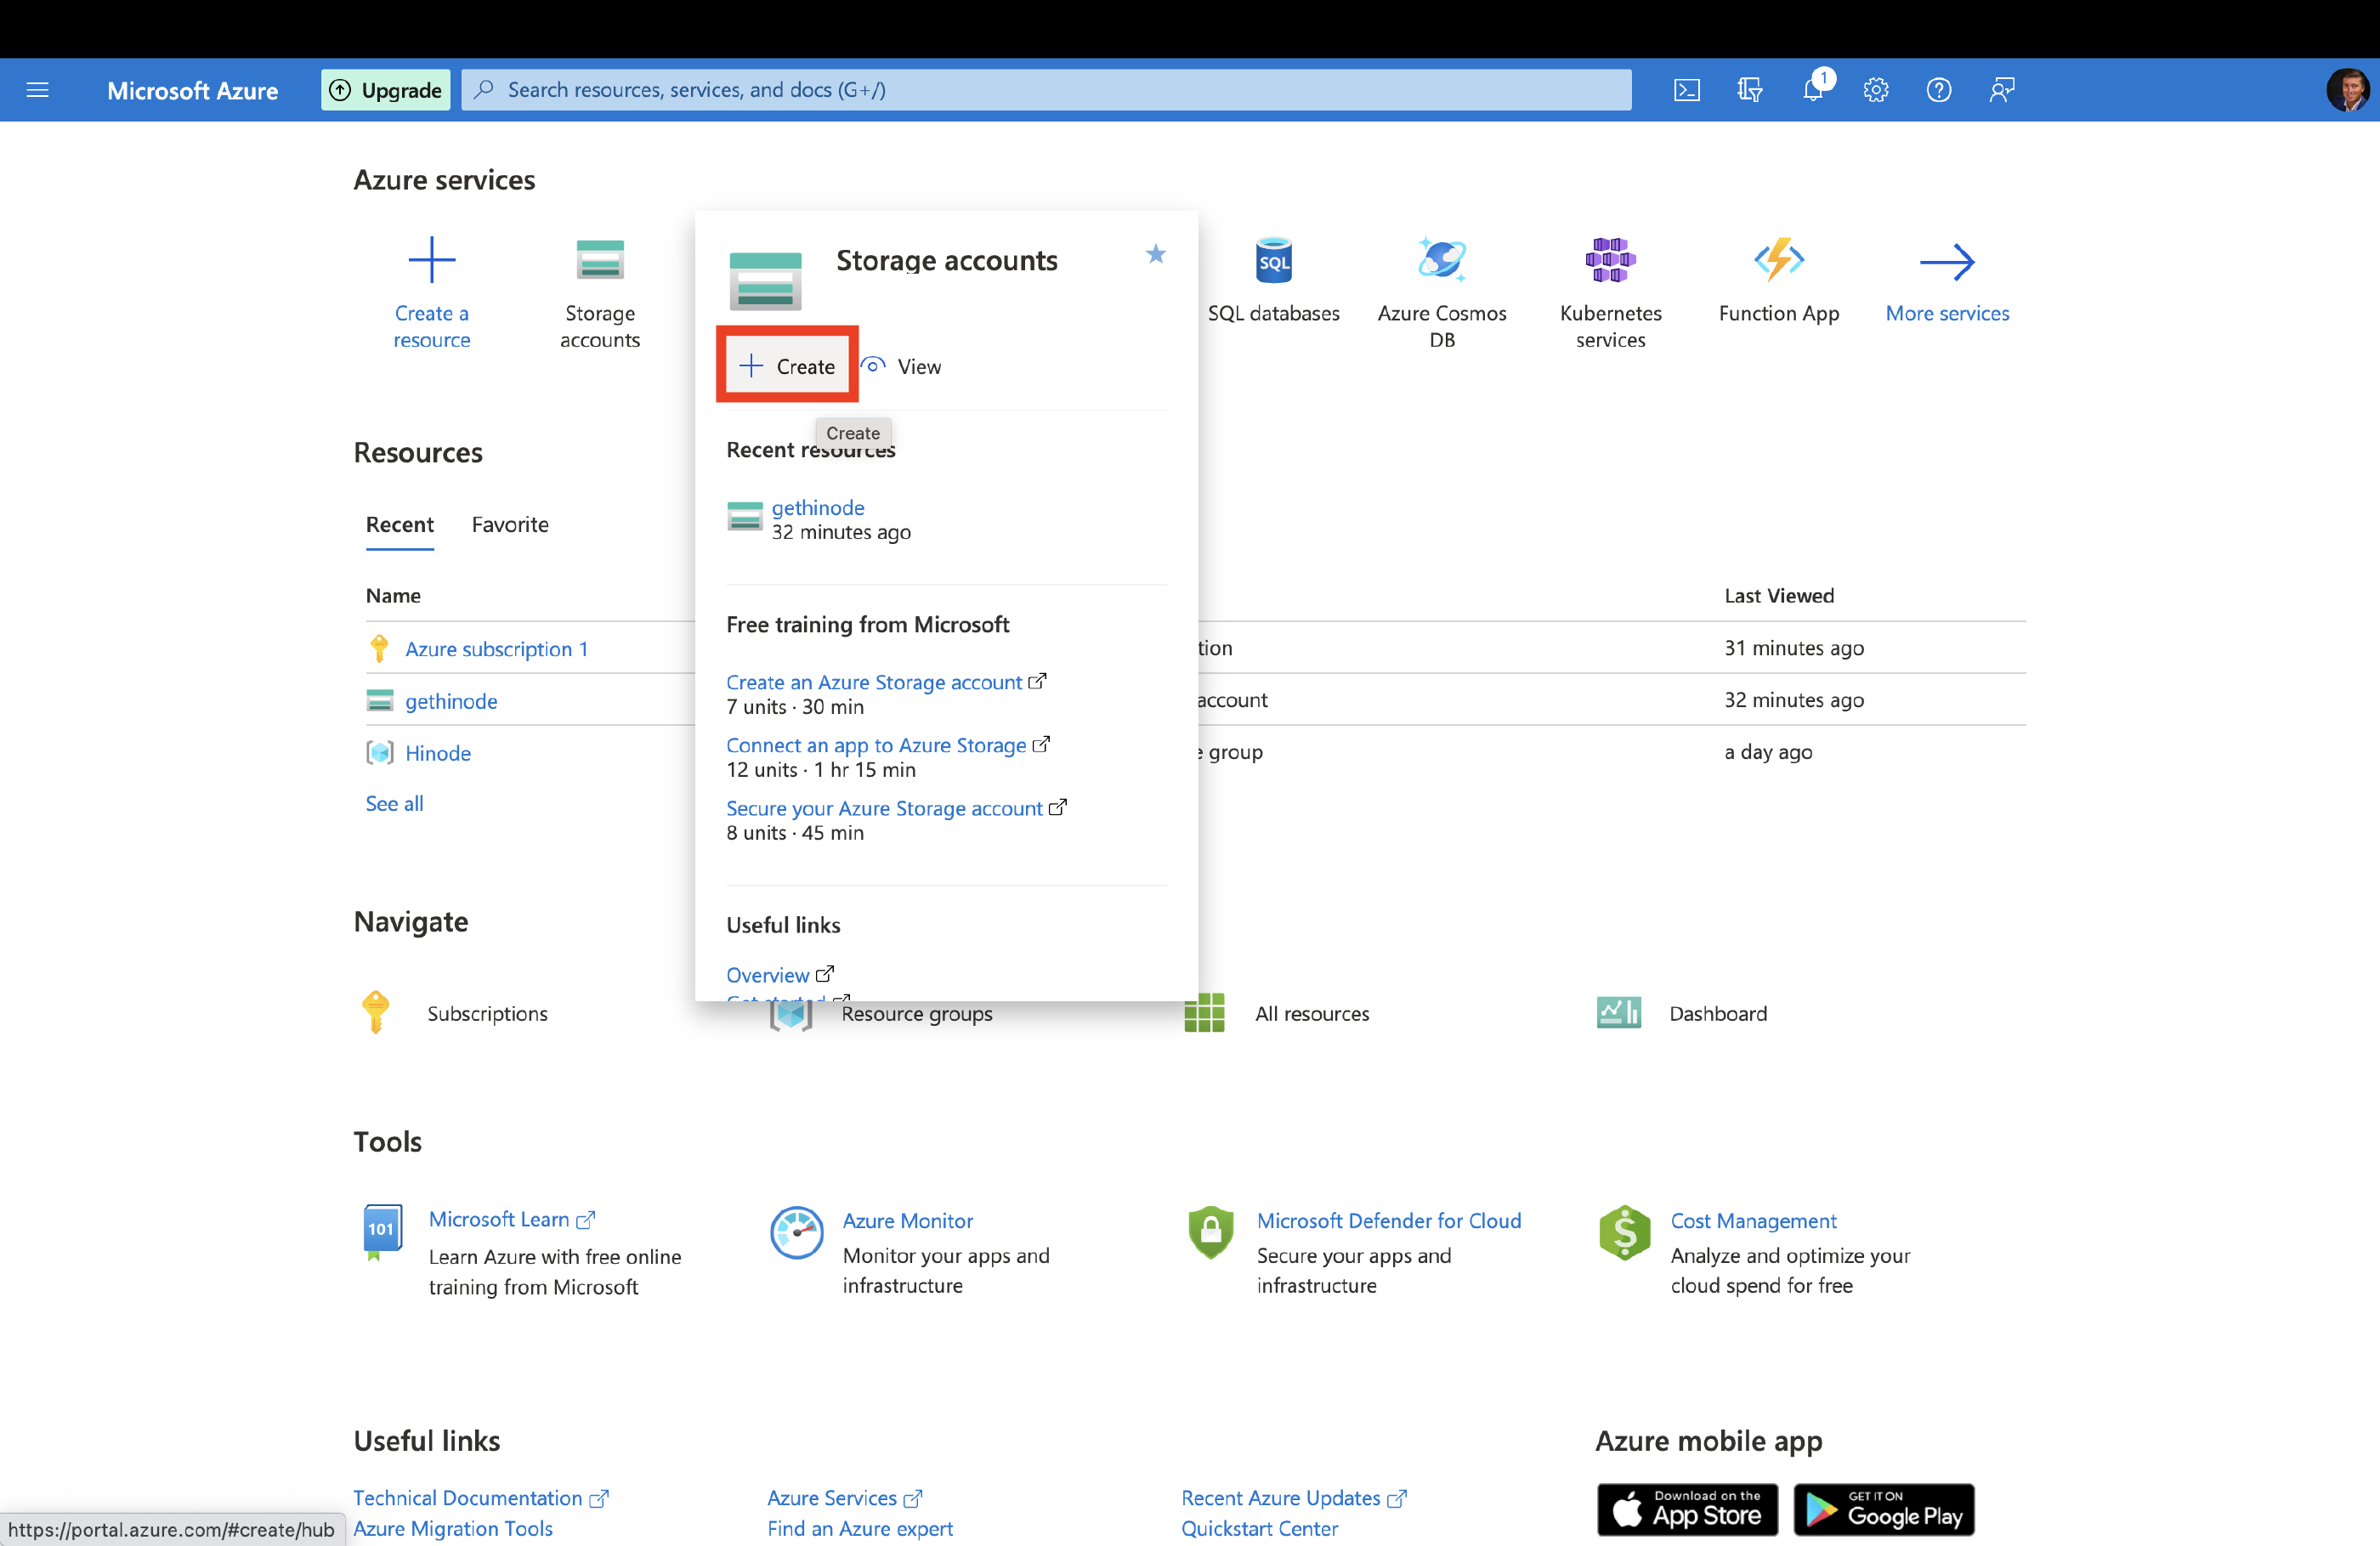
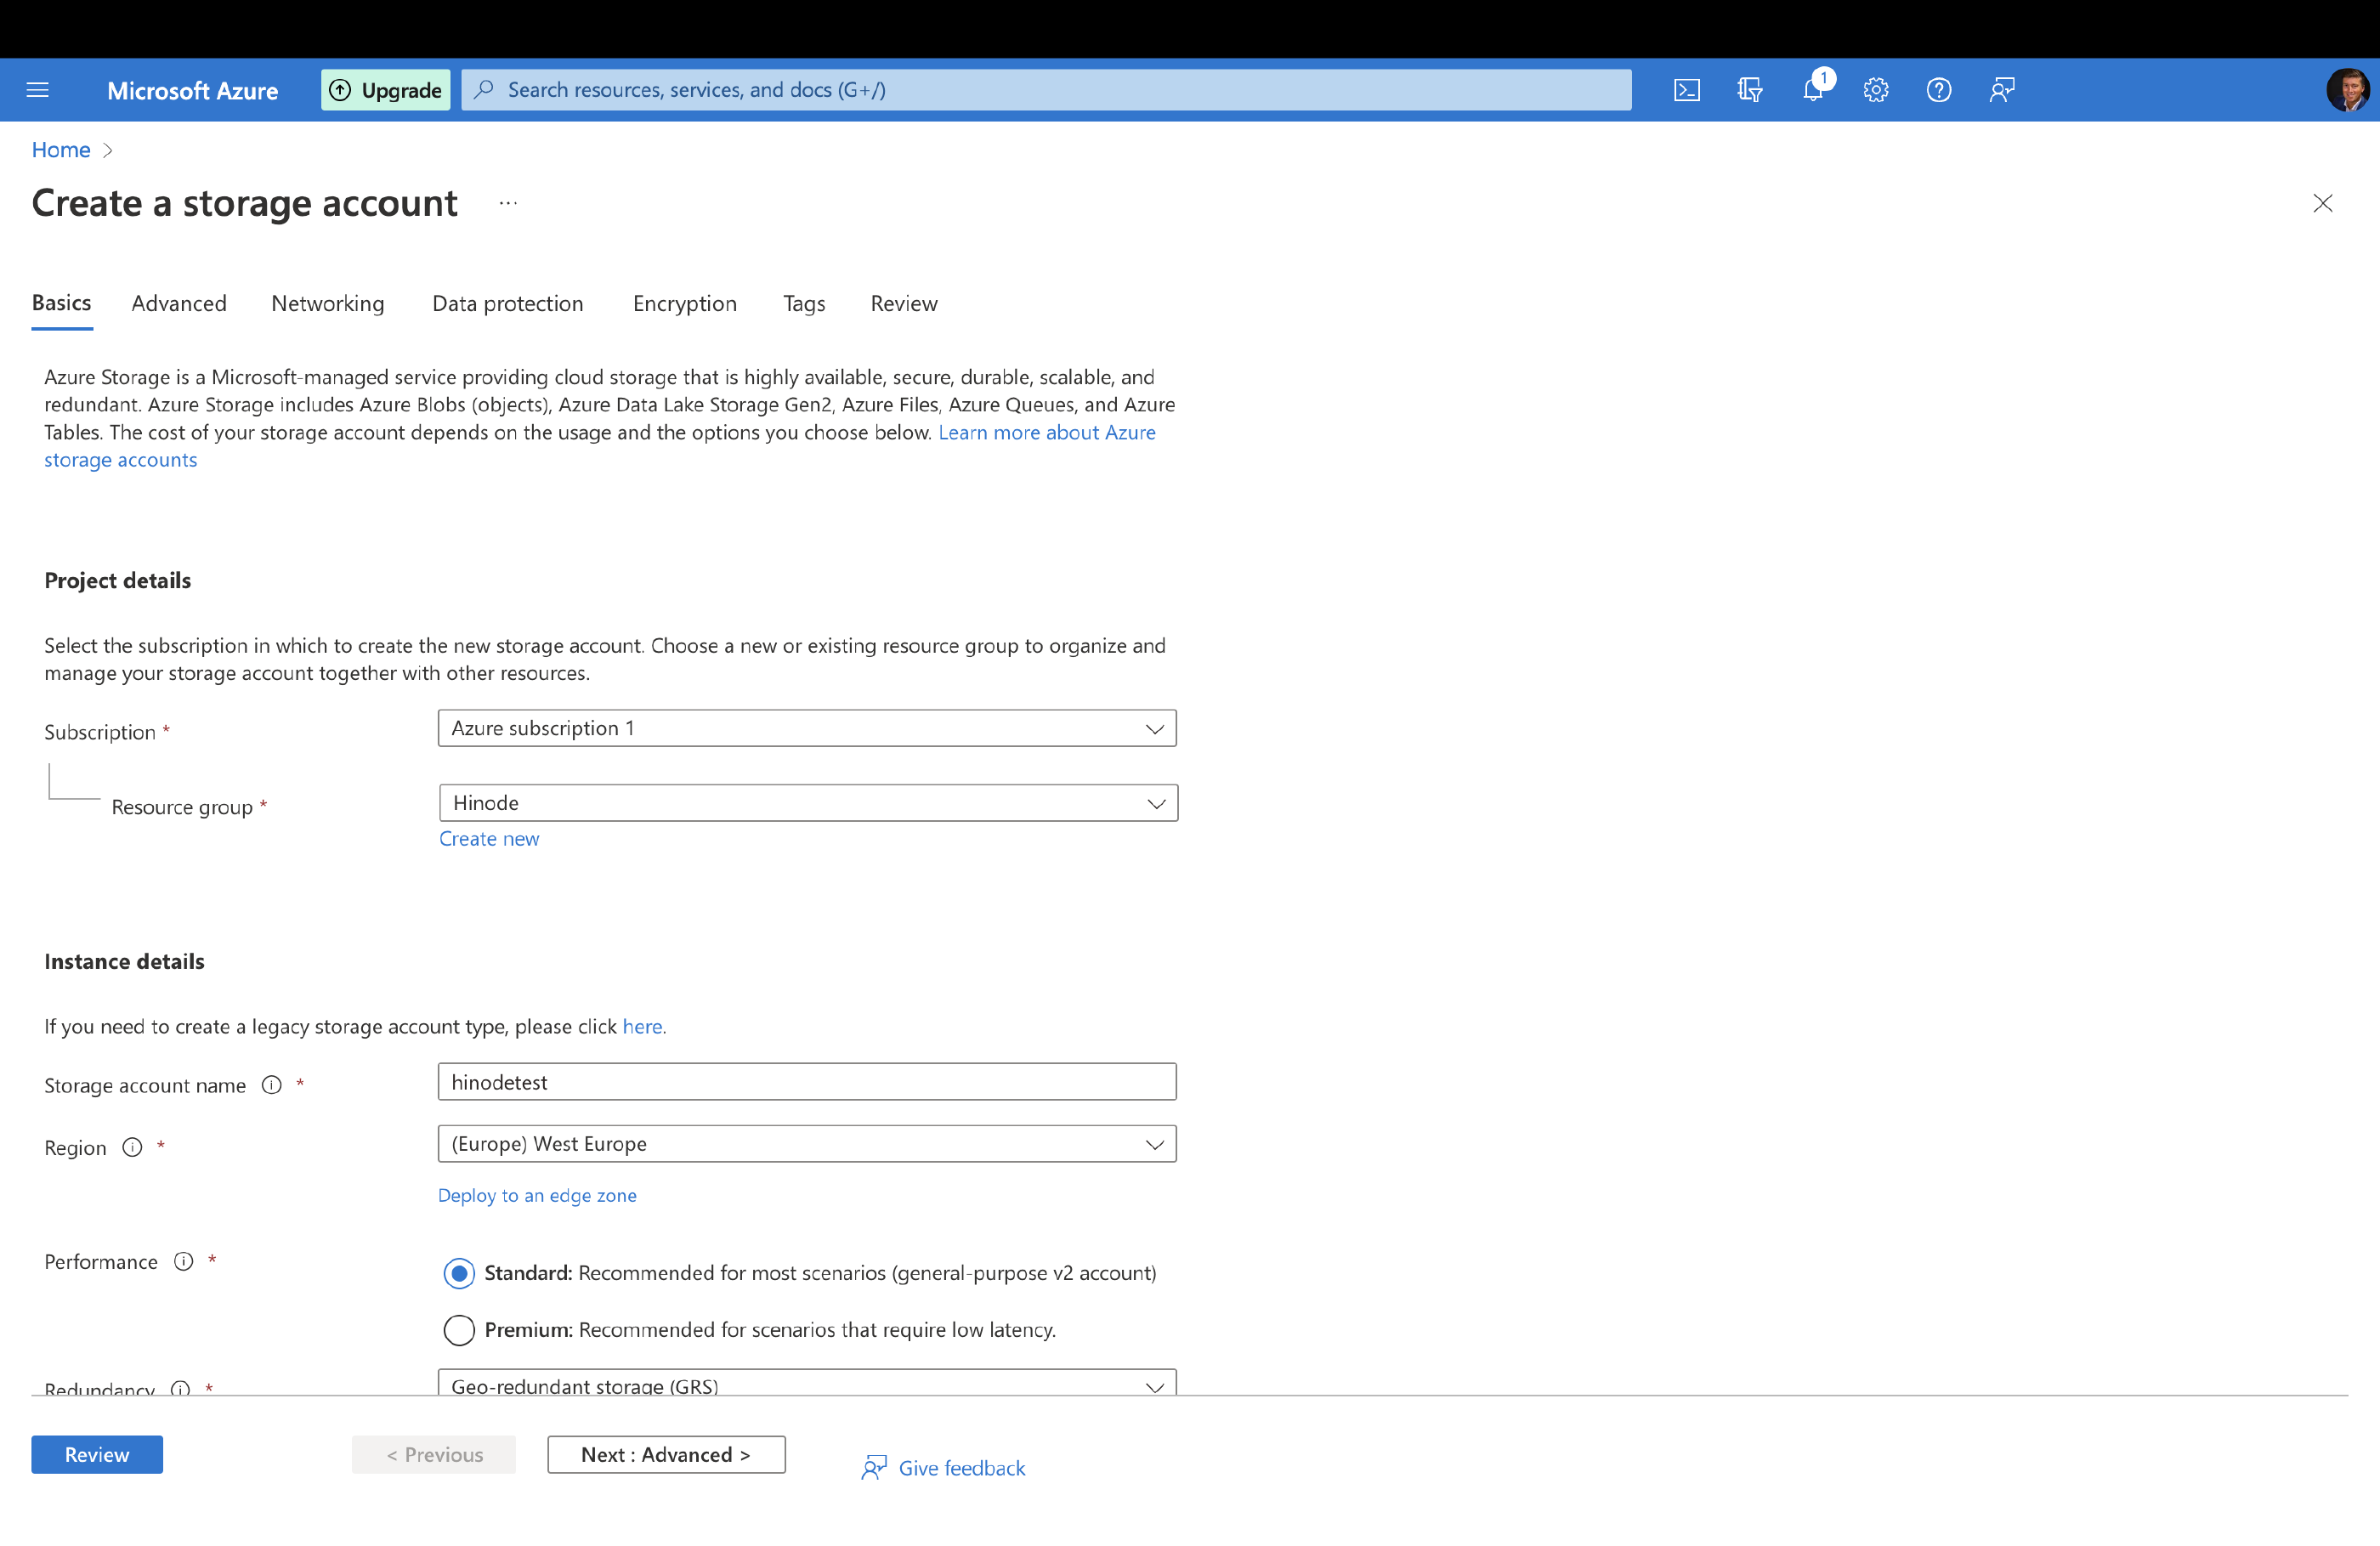
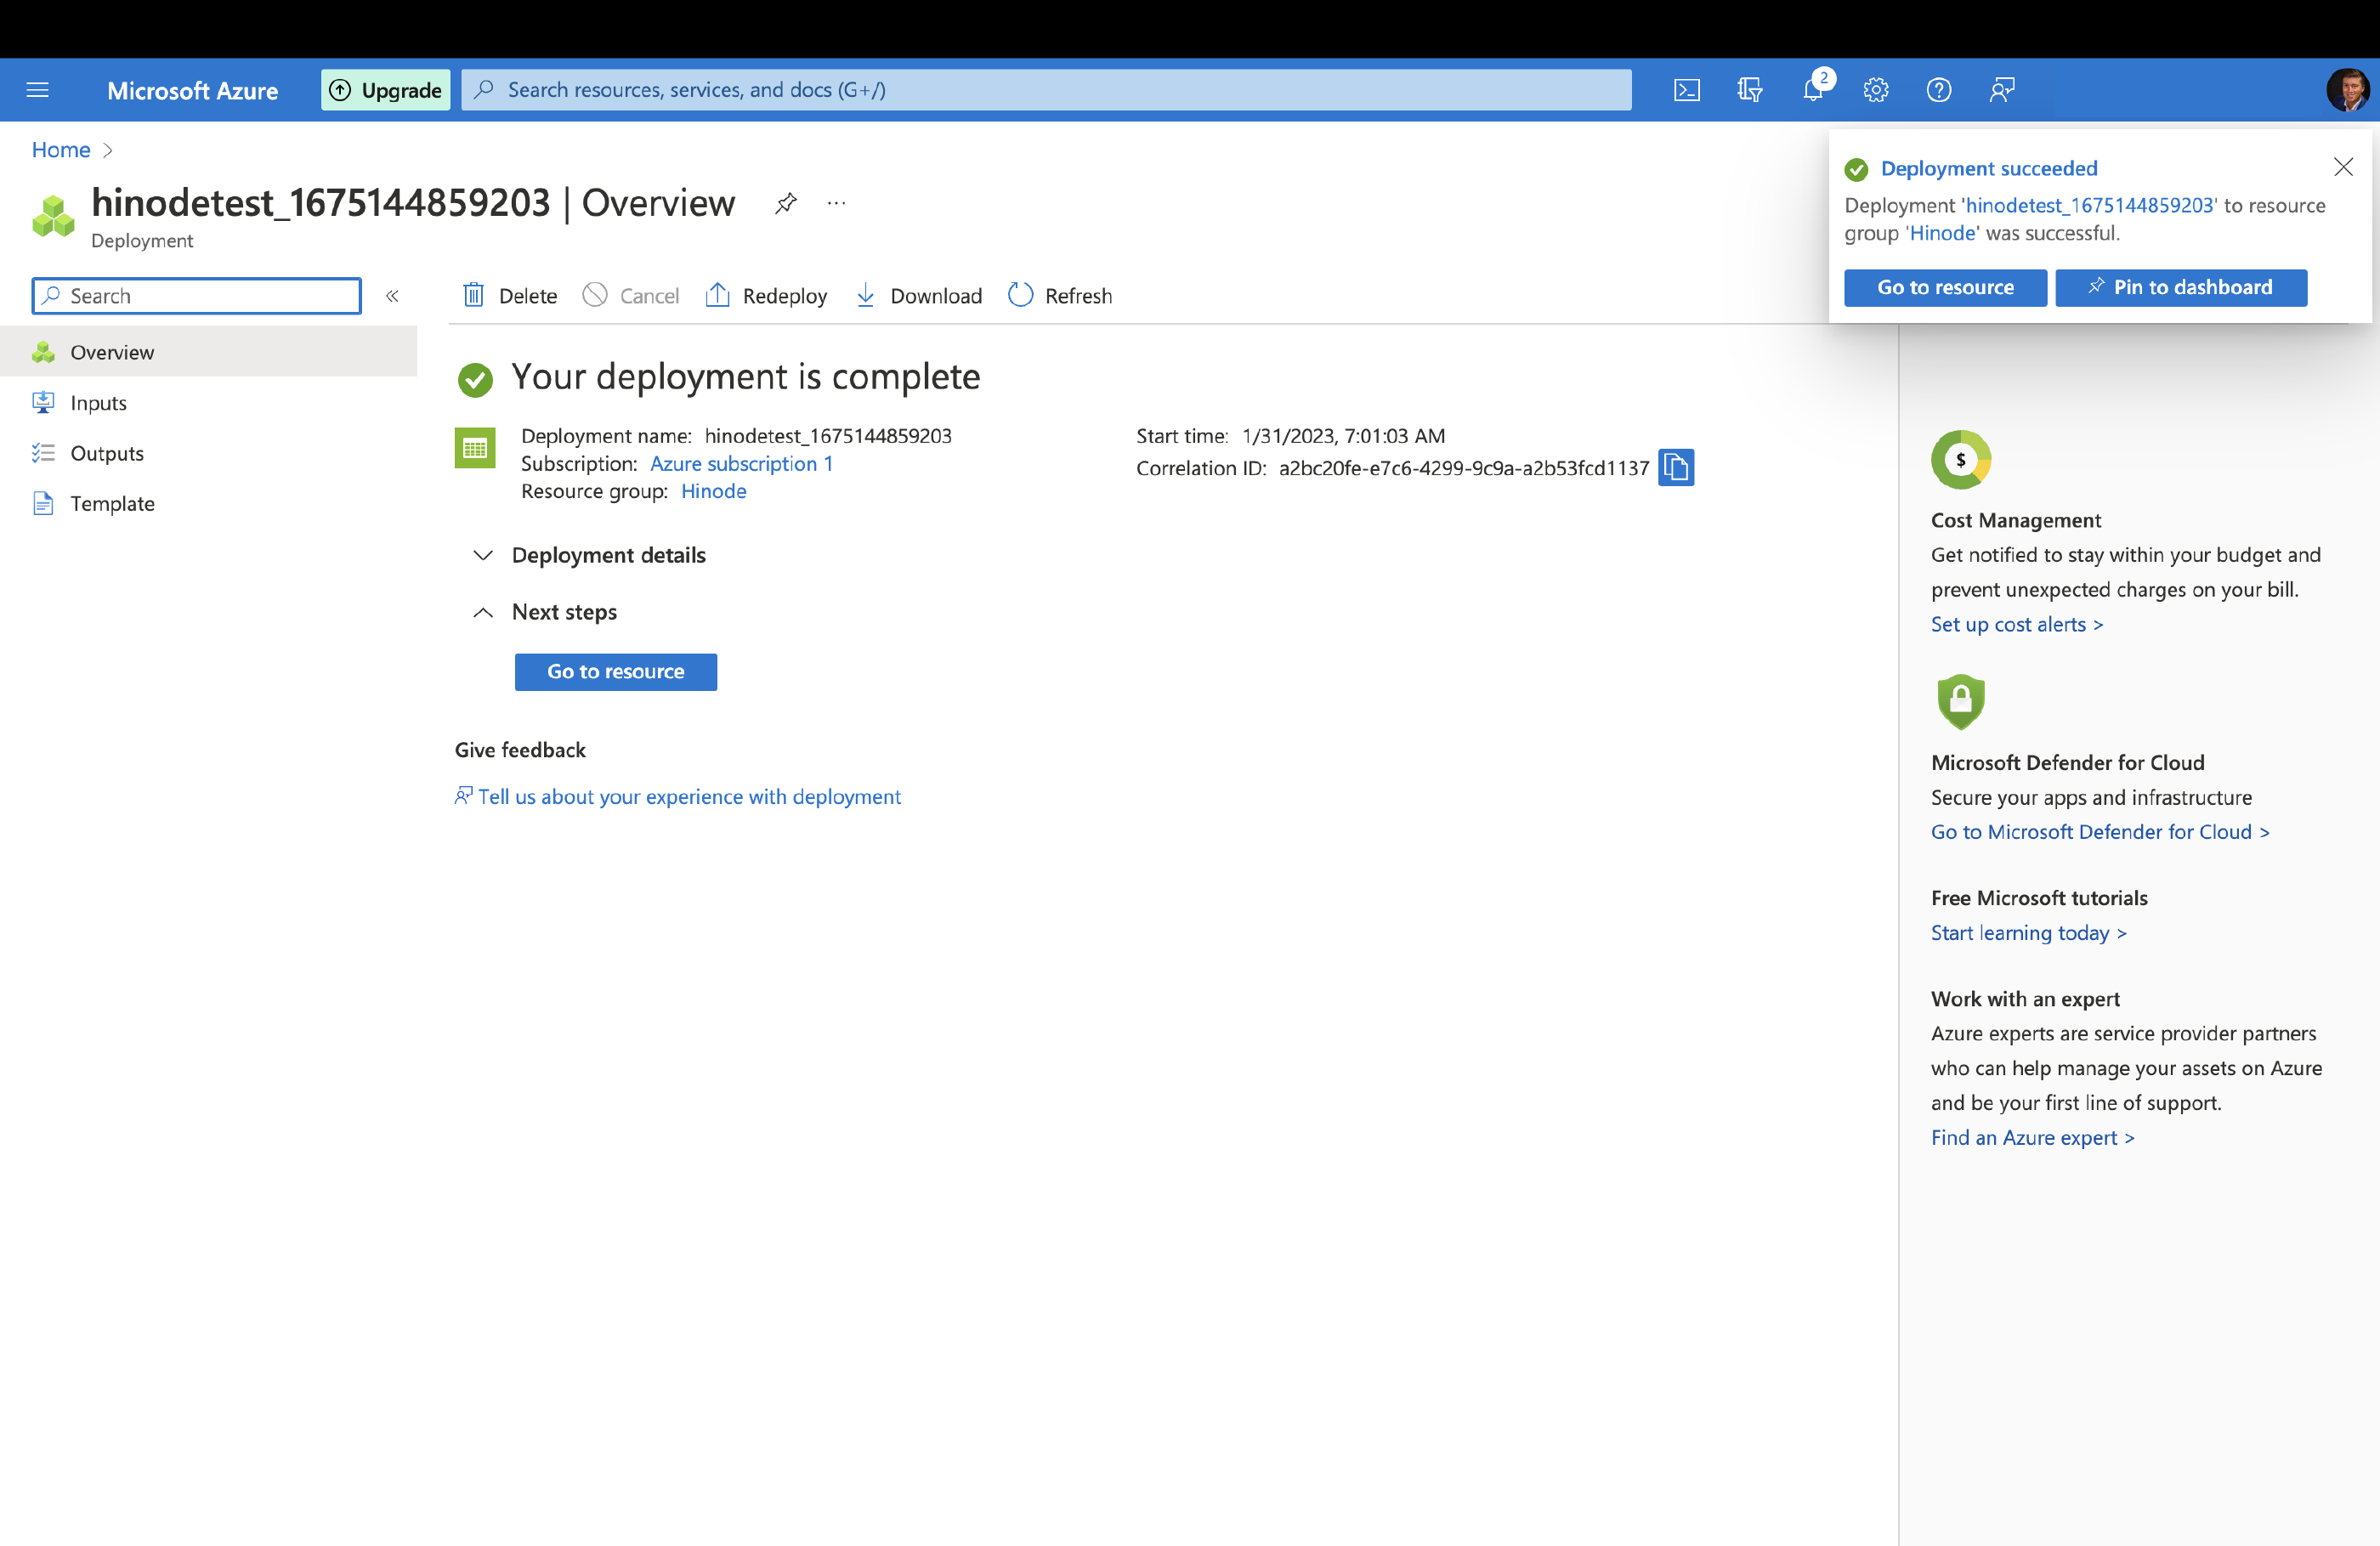
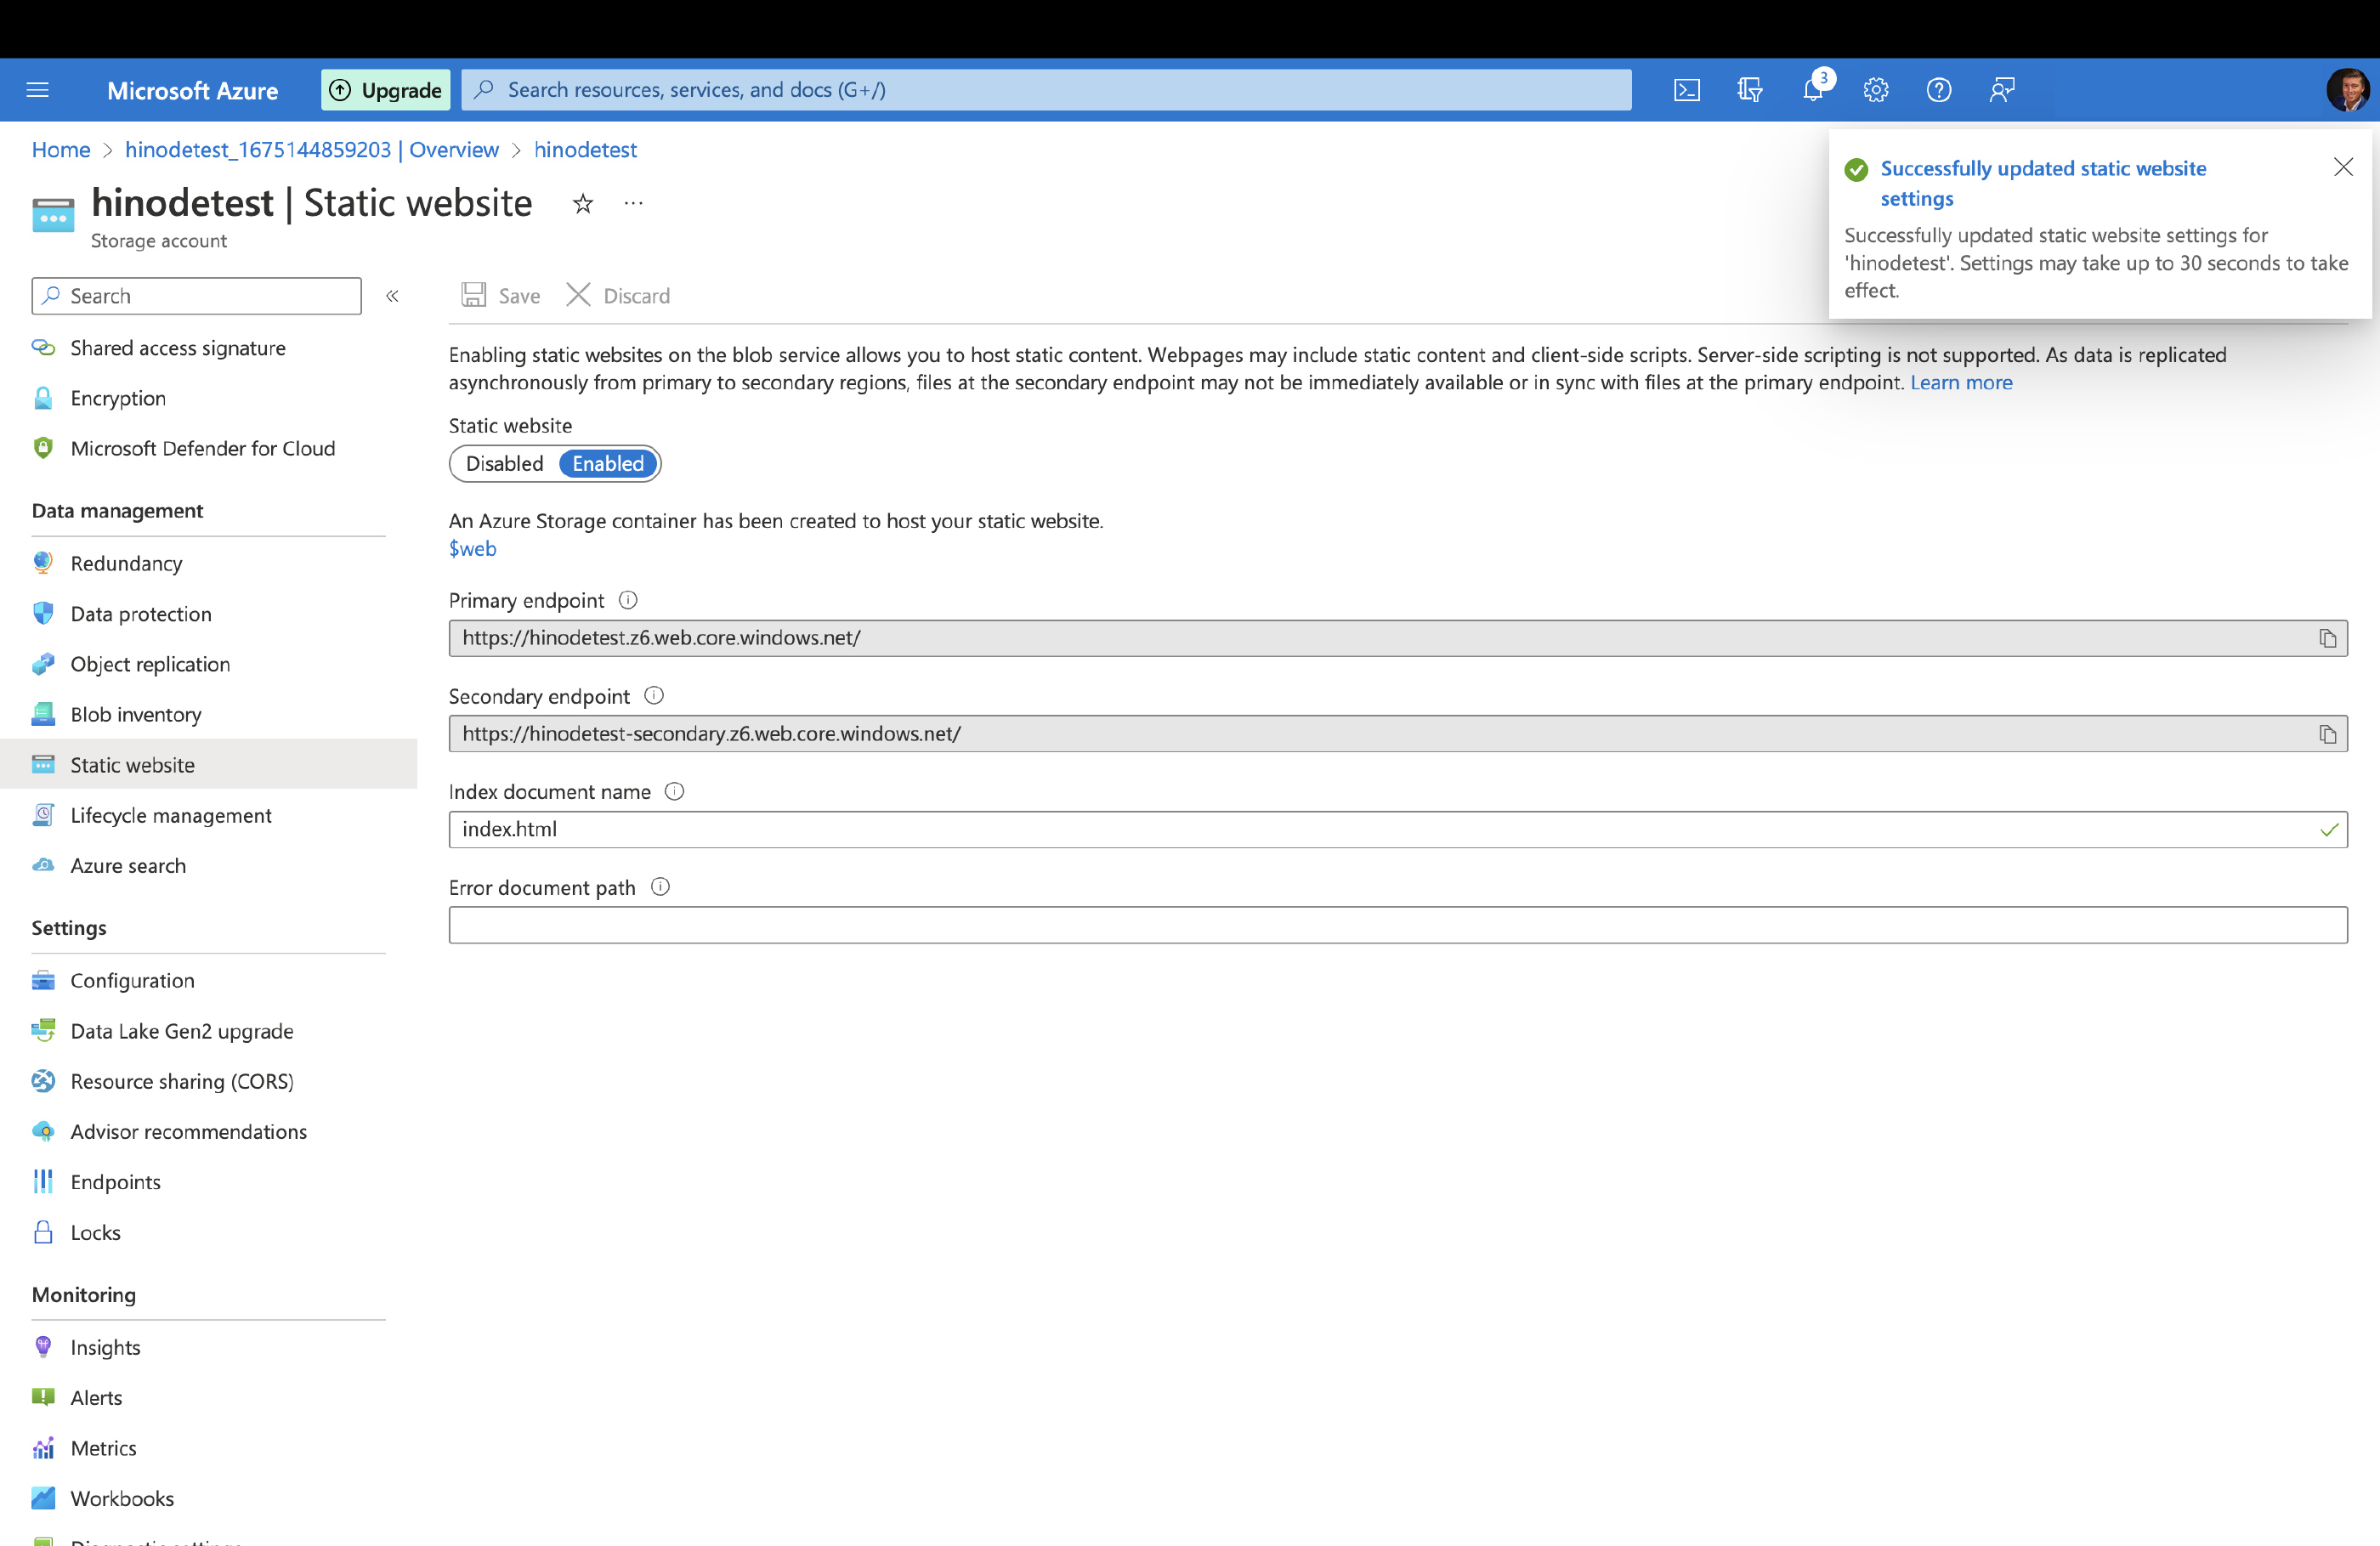
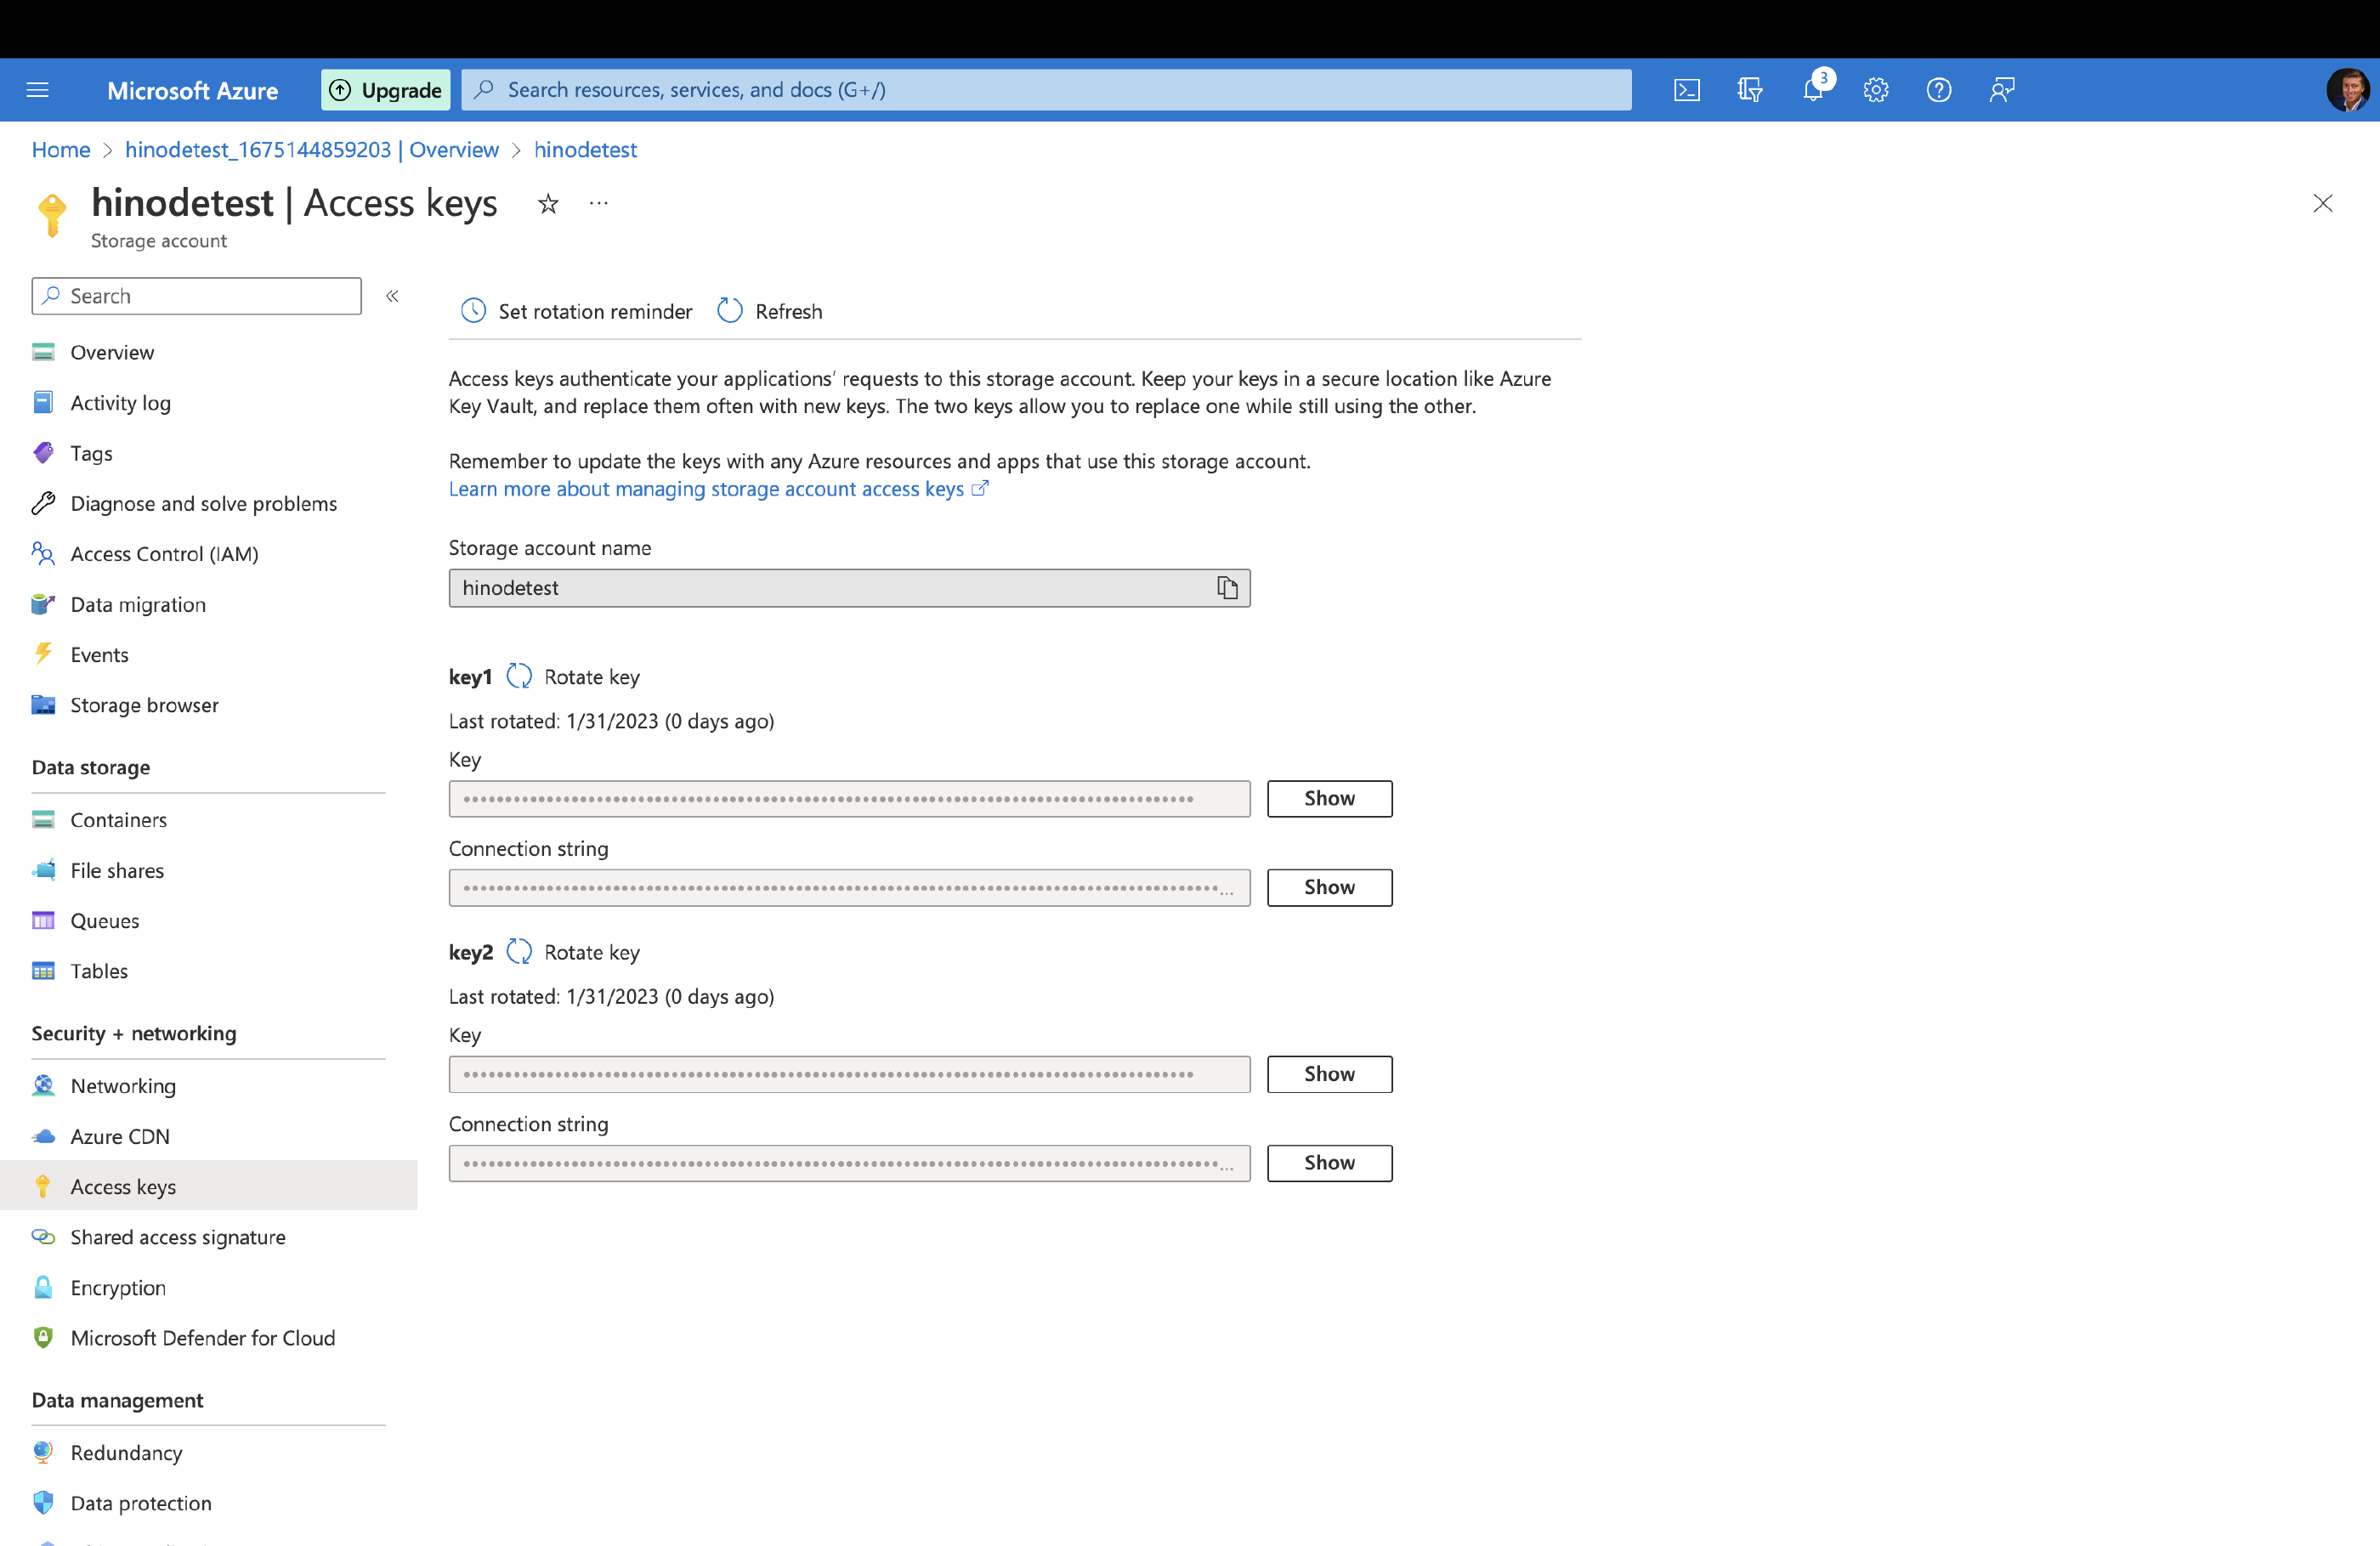
Data management and select Static website. Set the toggle for Static website to Enabled. Azure will then create a storage container $web within your storage account to host your website. Capture the primary endpoint, for example https://gethinode.z6.web.core.windows.net/. Set the Index document name to index.html. Hit the Save button when done.Security + networking and select Access keys. Capture the storage account name, e.g. gethinode. Next, copy either of the two keys to your clipboard. Set the credentials on your local computer:
export AZURE_STORAGE_ACCOUNT="{account name}"
export AZURE_STORAGE_KEY="{storage key}"--dryRun to review the upload before actually publishing the files.
hugo deployYou can make your static website available via a custom domain. Visit the Azure Documentation on how to map a custom domain to your blob storage endpoint. The static website does not support configuration of HTTP headers. Use Azure CDN to Configure HTTP Headers for your static website instead. Review the Server Configuration to identify the recommended configuration of the Content Security Policy.
Host on Netlify
Netlify can host your website with continuous deployment from your Git provider. The starter price plan is free for any public repository and provides 100 GB bandwidth and 300 build minutes each month. Review the next sections how to automatically deploy your site to Netlify on each update to the main branch of your repository.
Note
The starter plan requires your repository to be public. You will require a paid plan if your repository is set to private.
Assumptions
- You have an account and repository with GitHub, GitLab, or Bitbucket.
- You have a Hinode website you are ready to deploy.
- You do not already have a Netlify account.
Preparations
The repository root should include a file netlify.toml. If not, copy it from the
Hinode Main Repository
. The configuration file contains the build settings that Netlify will pick up when connecting to your repository. The panel below shows the default build settings. The key command to observe is npm run build, which ensures the site is built properly.
Note
The default configuration provides basic security headers. Please review the Server Configuration for more details about the Content Security Policy. The cache settings are explained in more detail in the Netlify Blog .
[build]
    publish = "exampleSite/public"
    command = "npm run build:example"

[build.environment]
    DART_SASS_VERSION = "1.83.1"
    HUGO_VERSION = "0.140.2"
    HUGO_ENV = "production"
    HUGO_ENABLEGITINFO = "true"
    NODE_VERSION = "22.12.0"
NPM_VERSION = "10.9.0"The same file also configures several optional plugins. Keep these plugins if you would like to support Dart Sass, use caching, and generate a Lighthouse report upon each build.
[[plugins]]
    package = "@gethinode/netlify-plugin-dartsass"

[[plugins]]
package = "netlify-plugin-hugo-cache-resources"Configure Your Site
Sign up for Netlify and configure your site in seven steps.
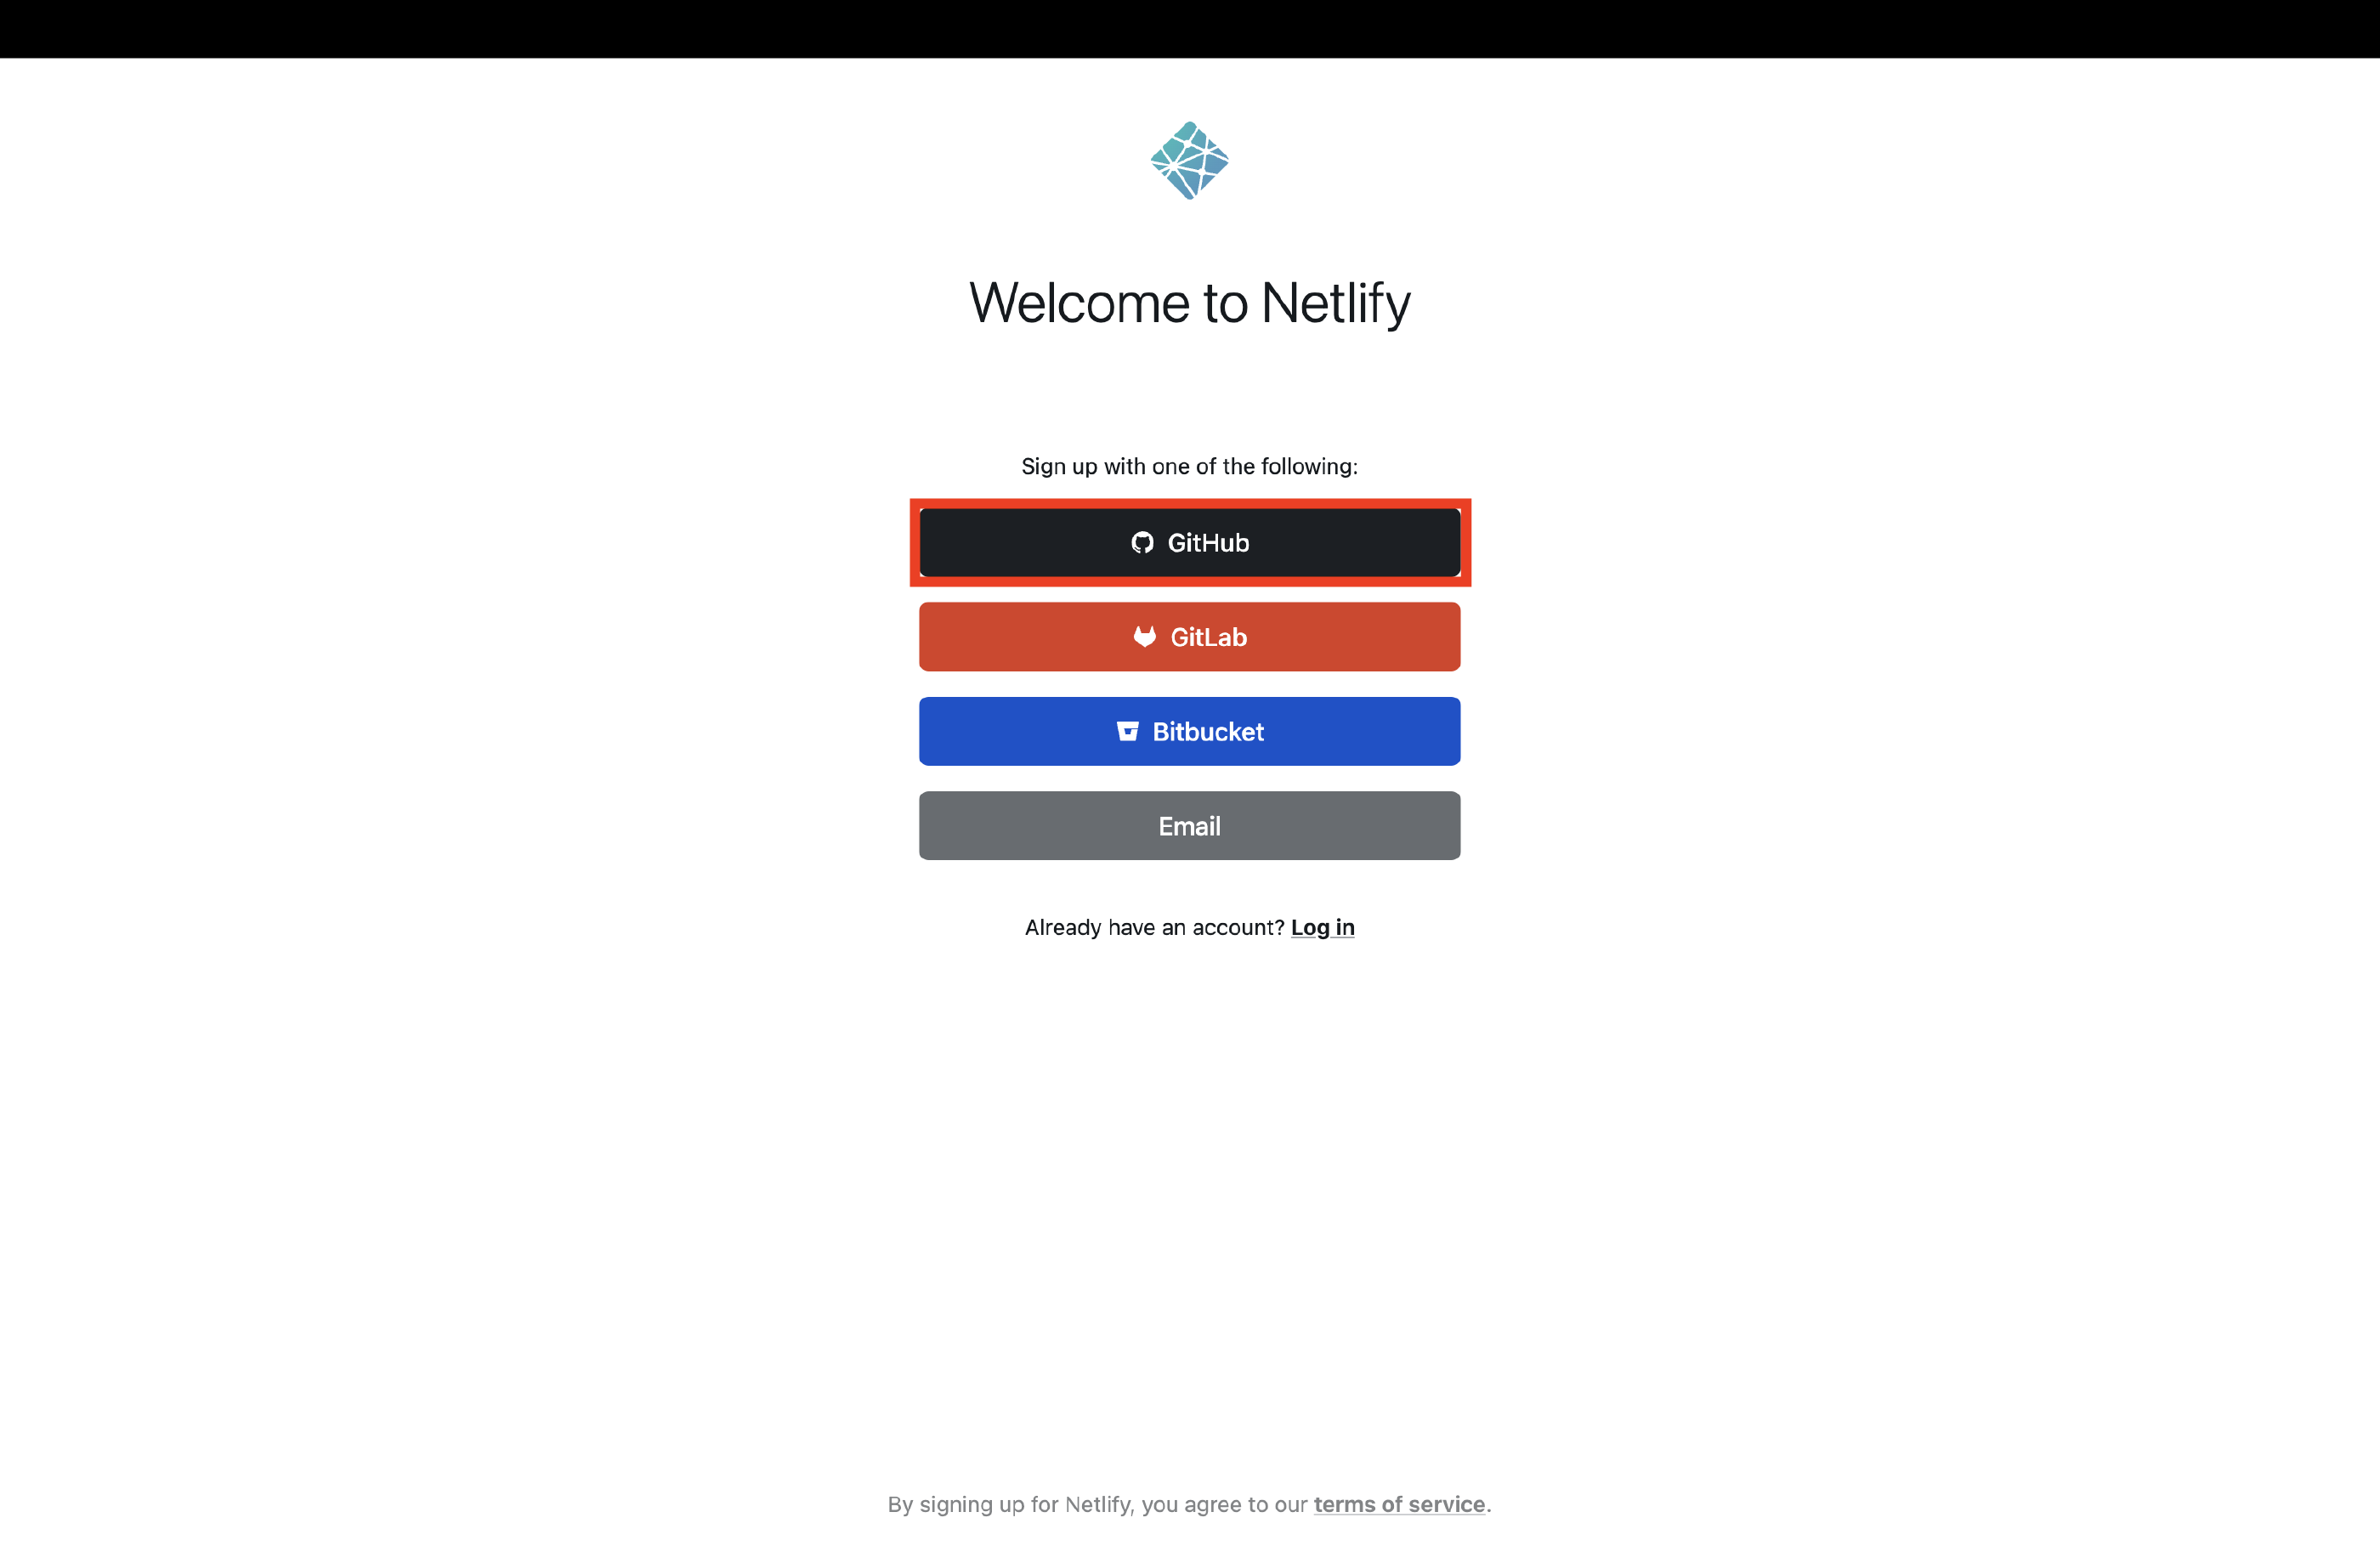
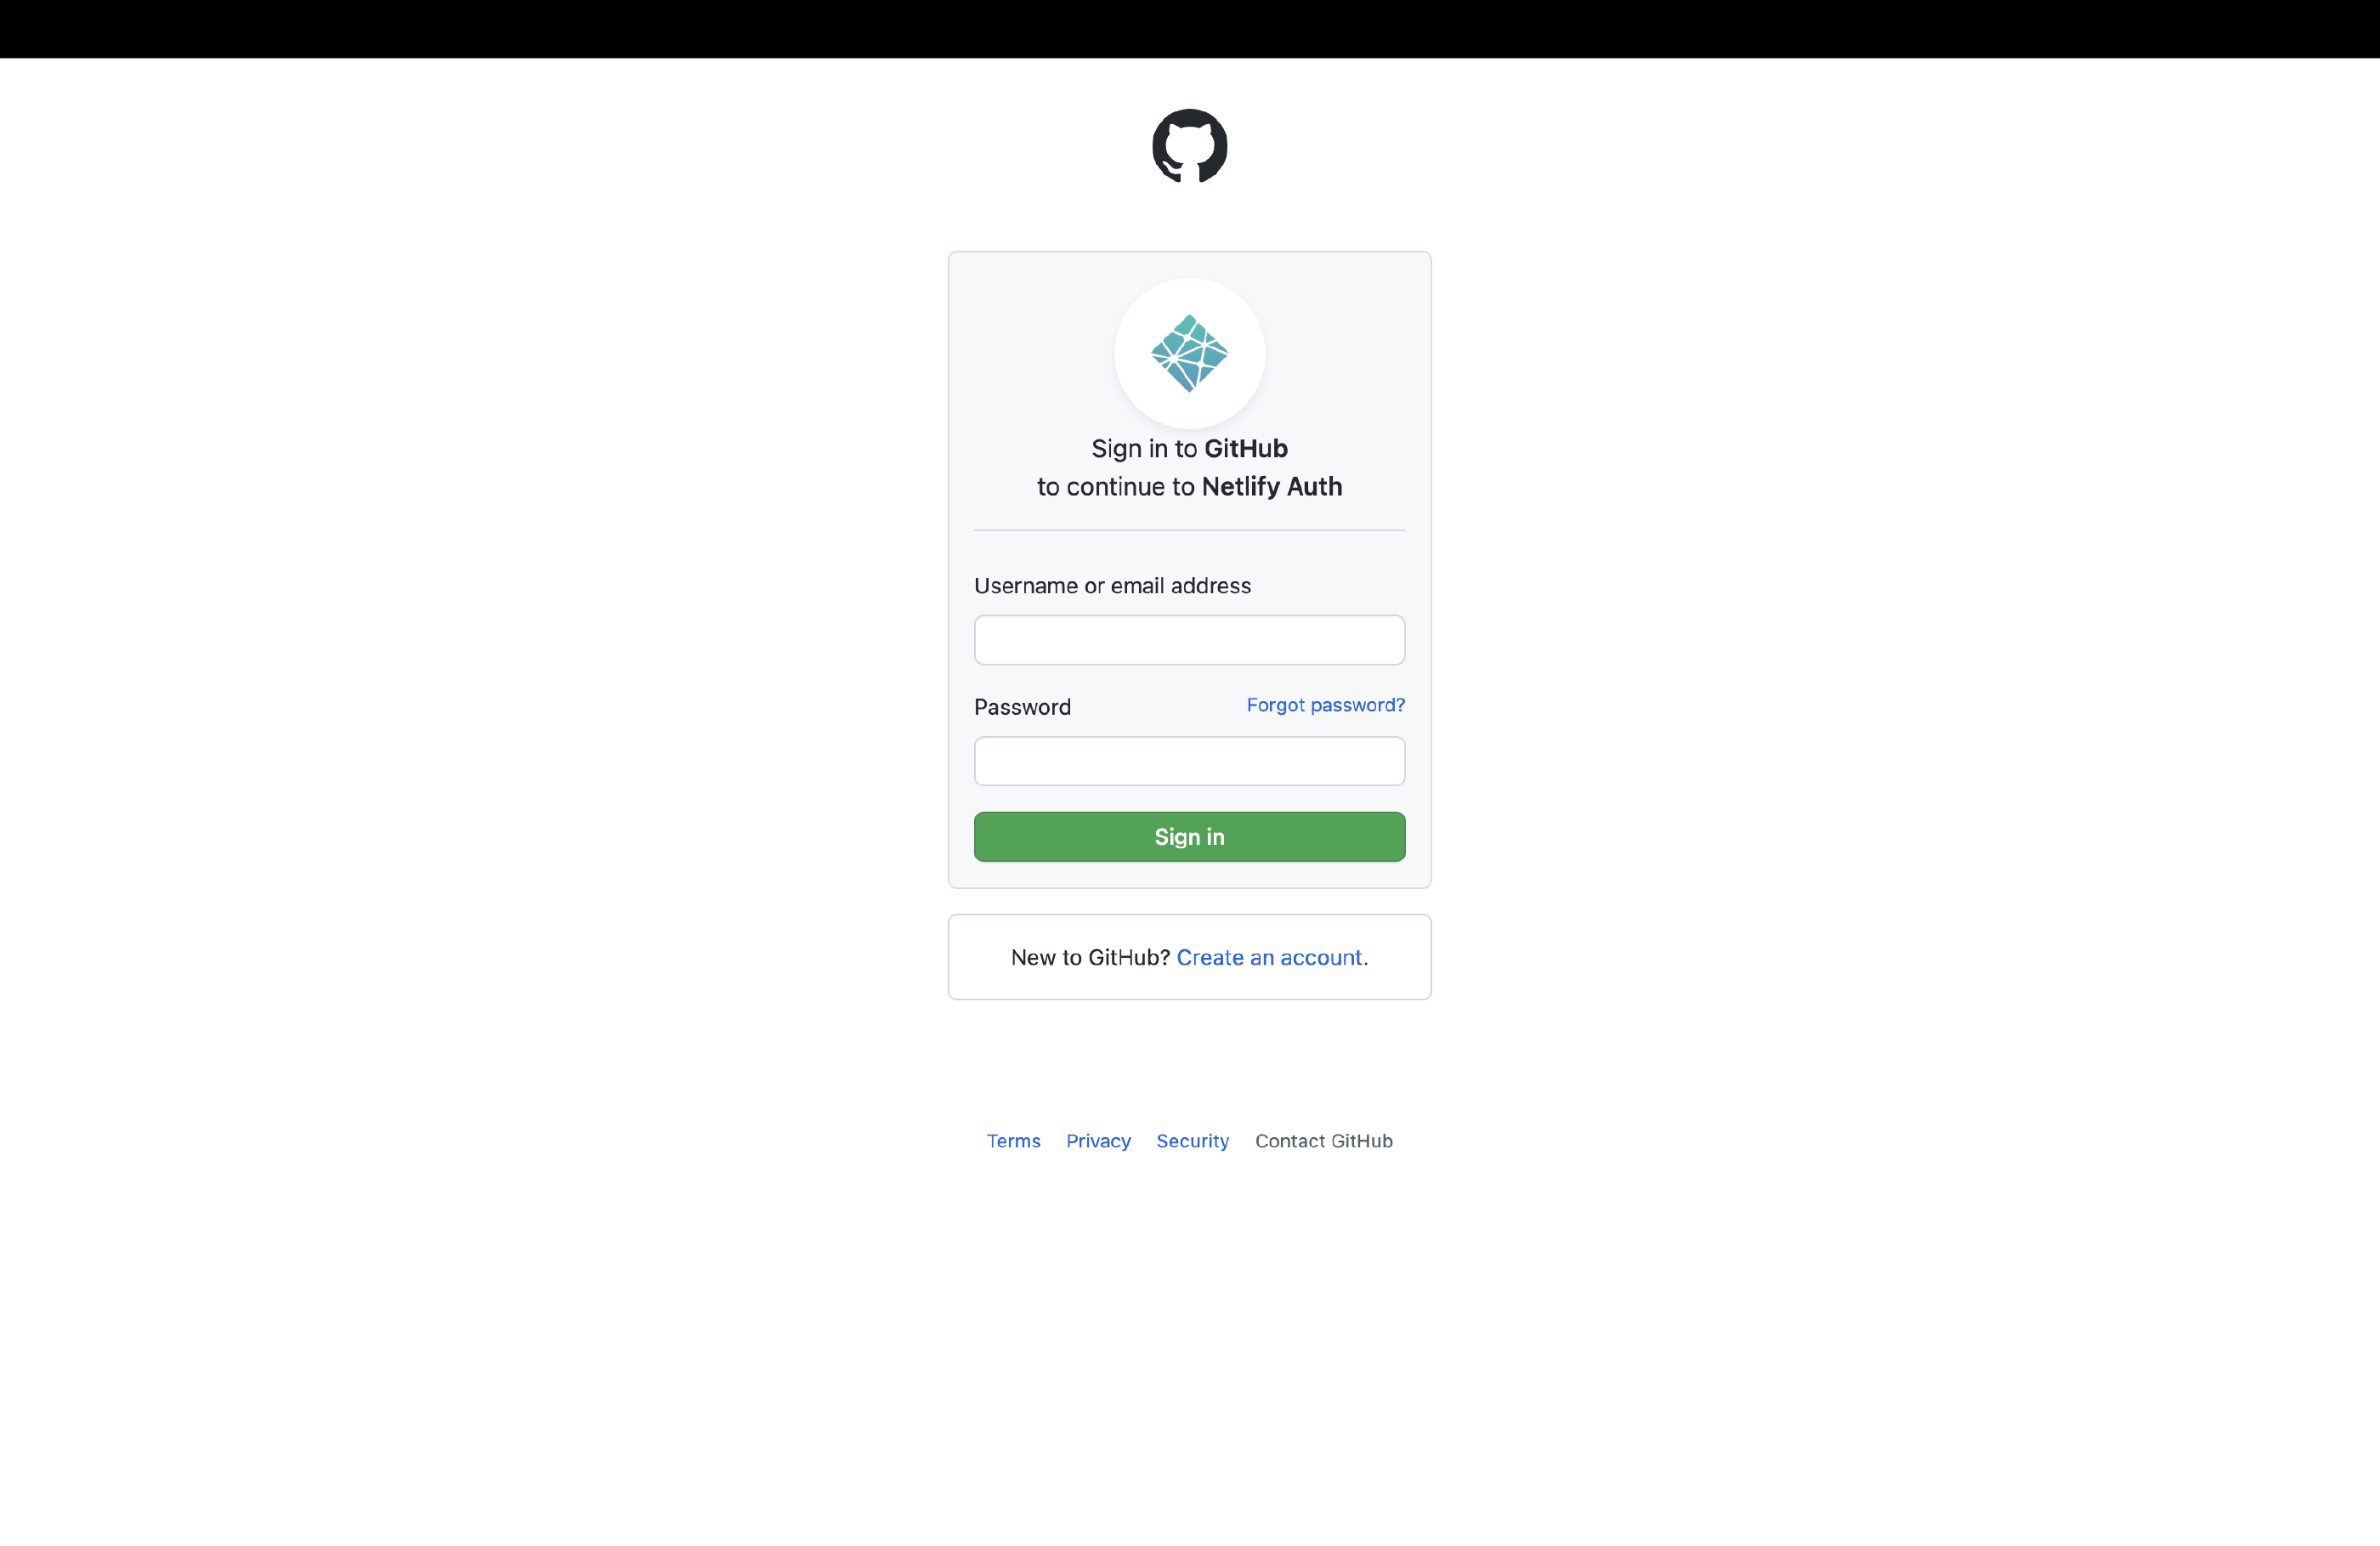
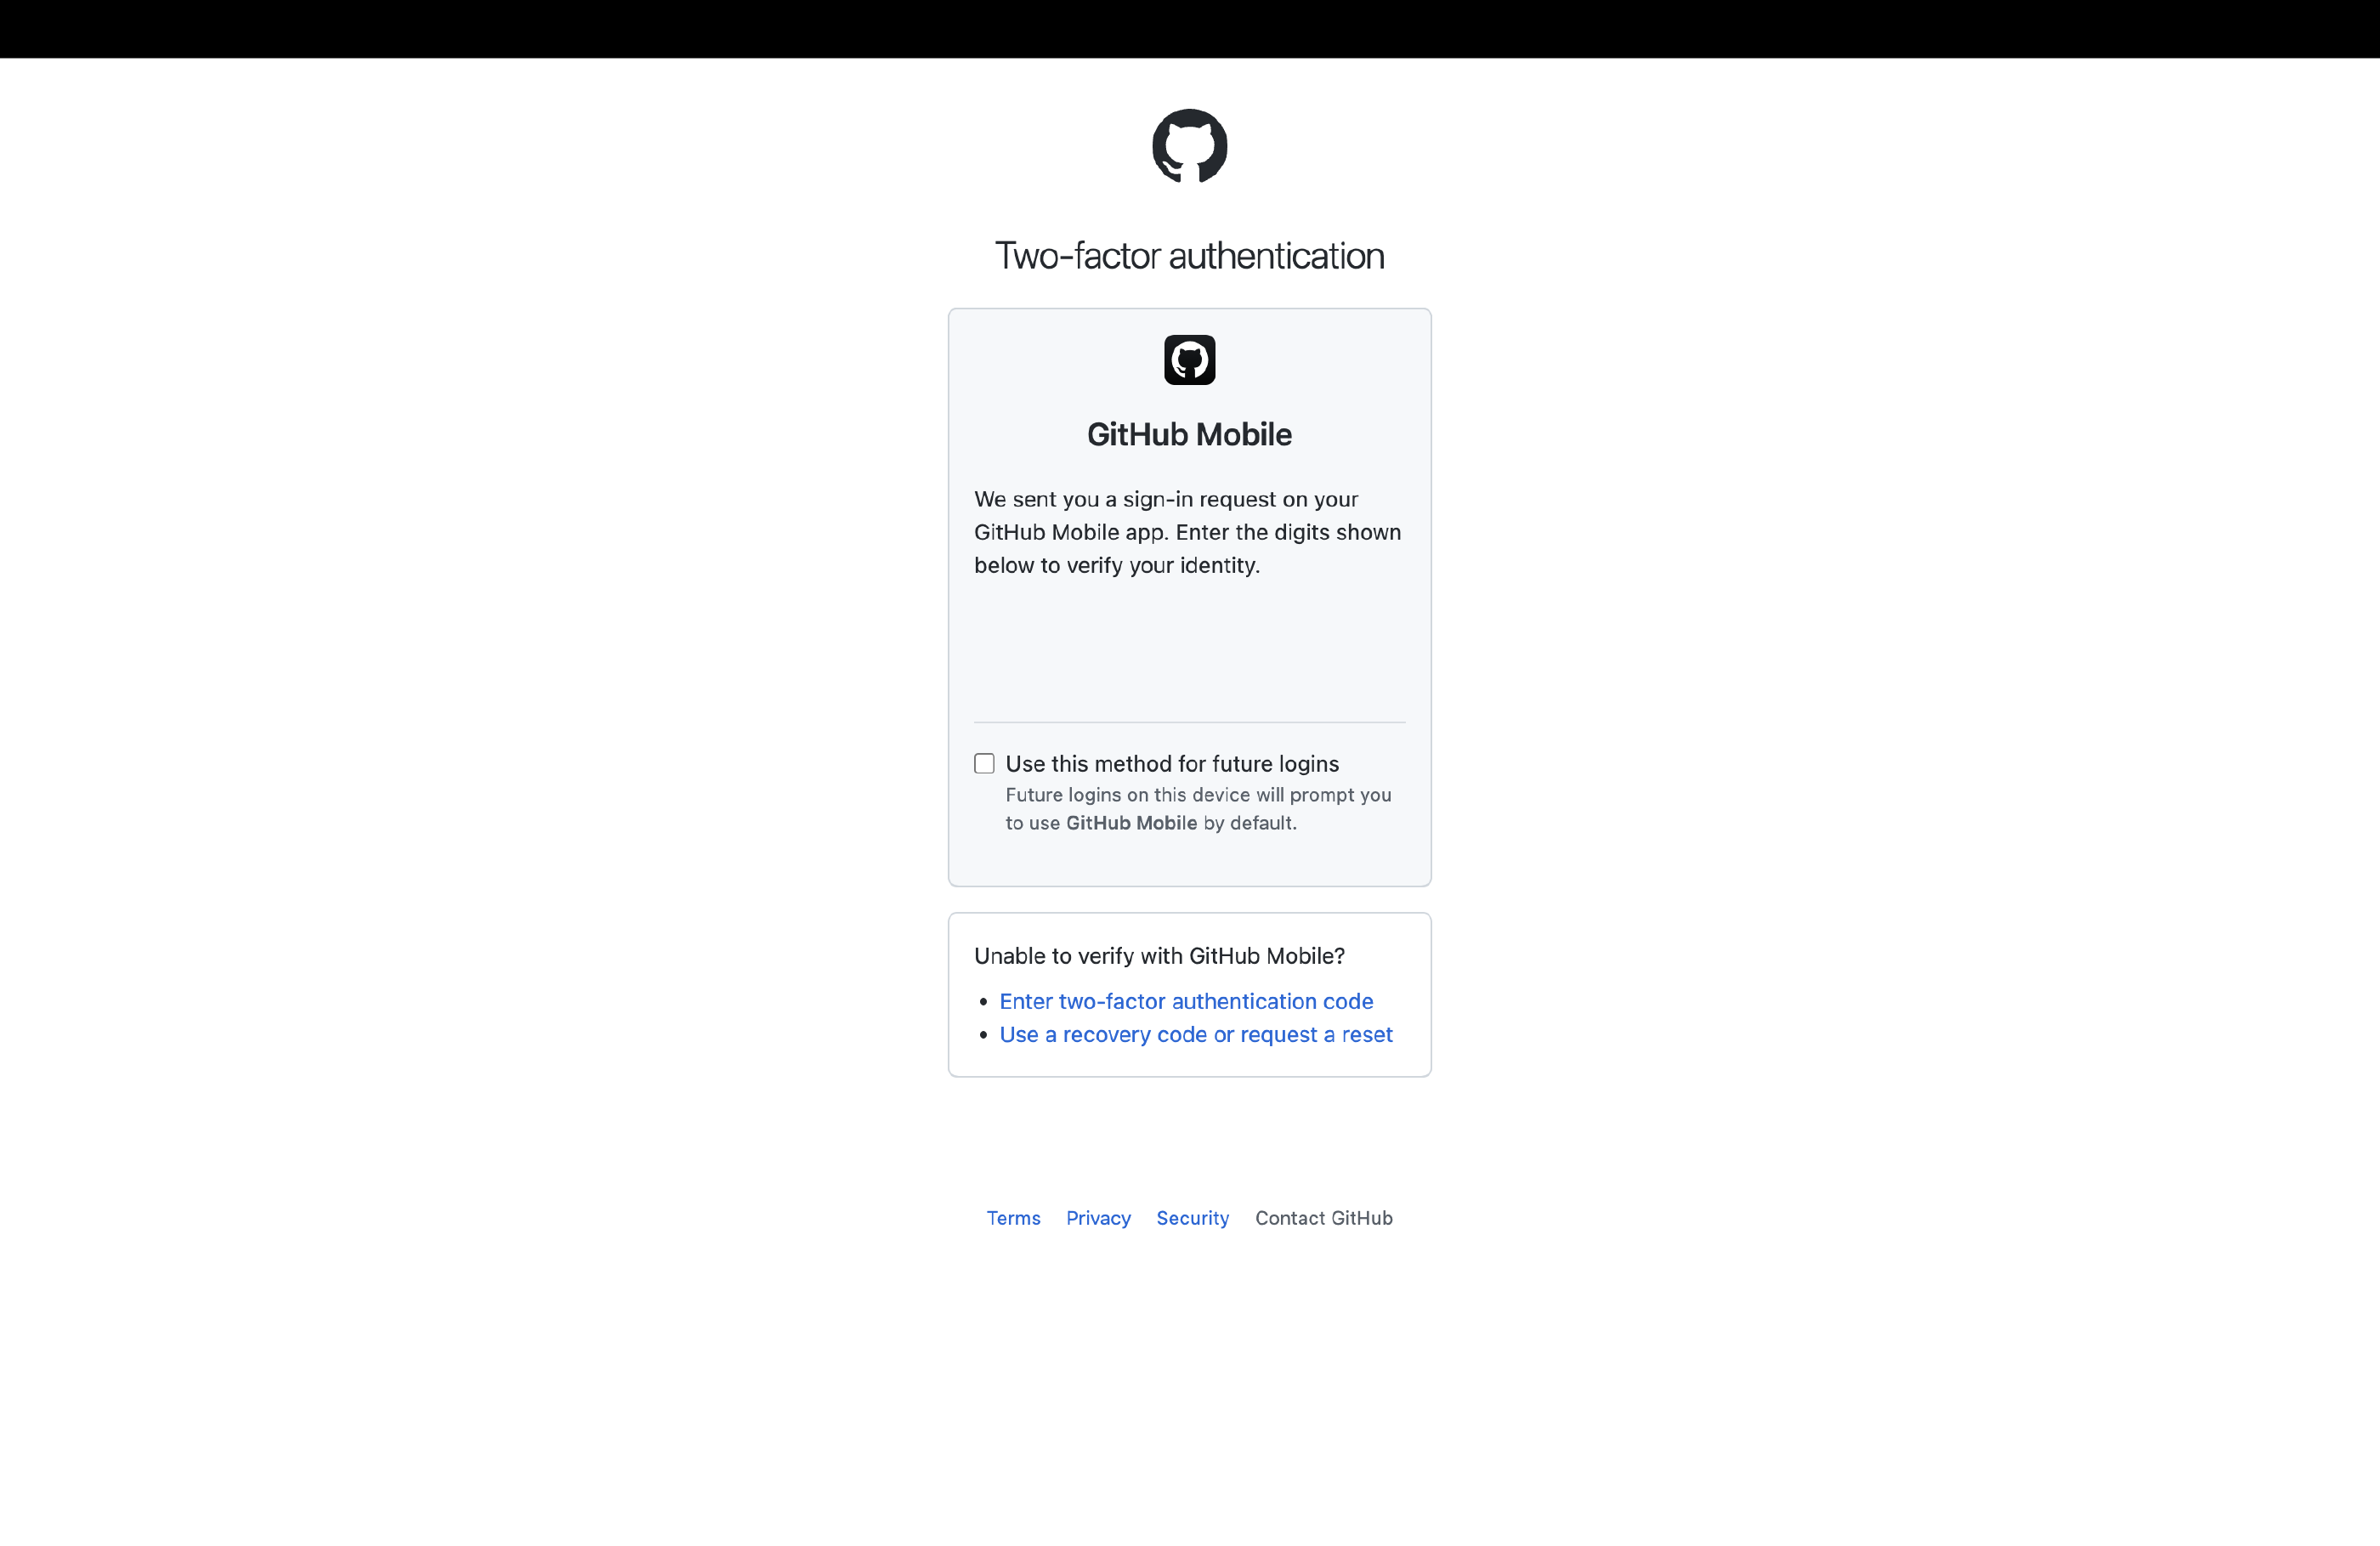
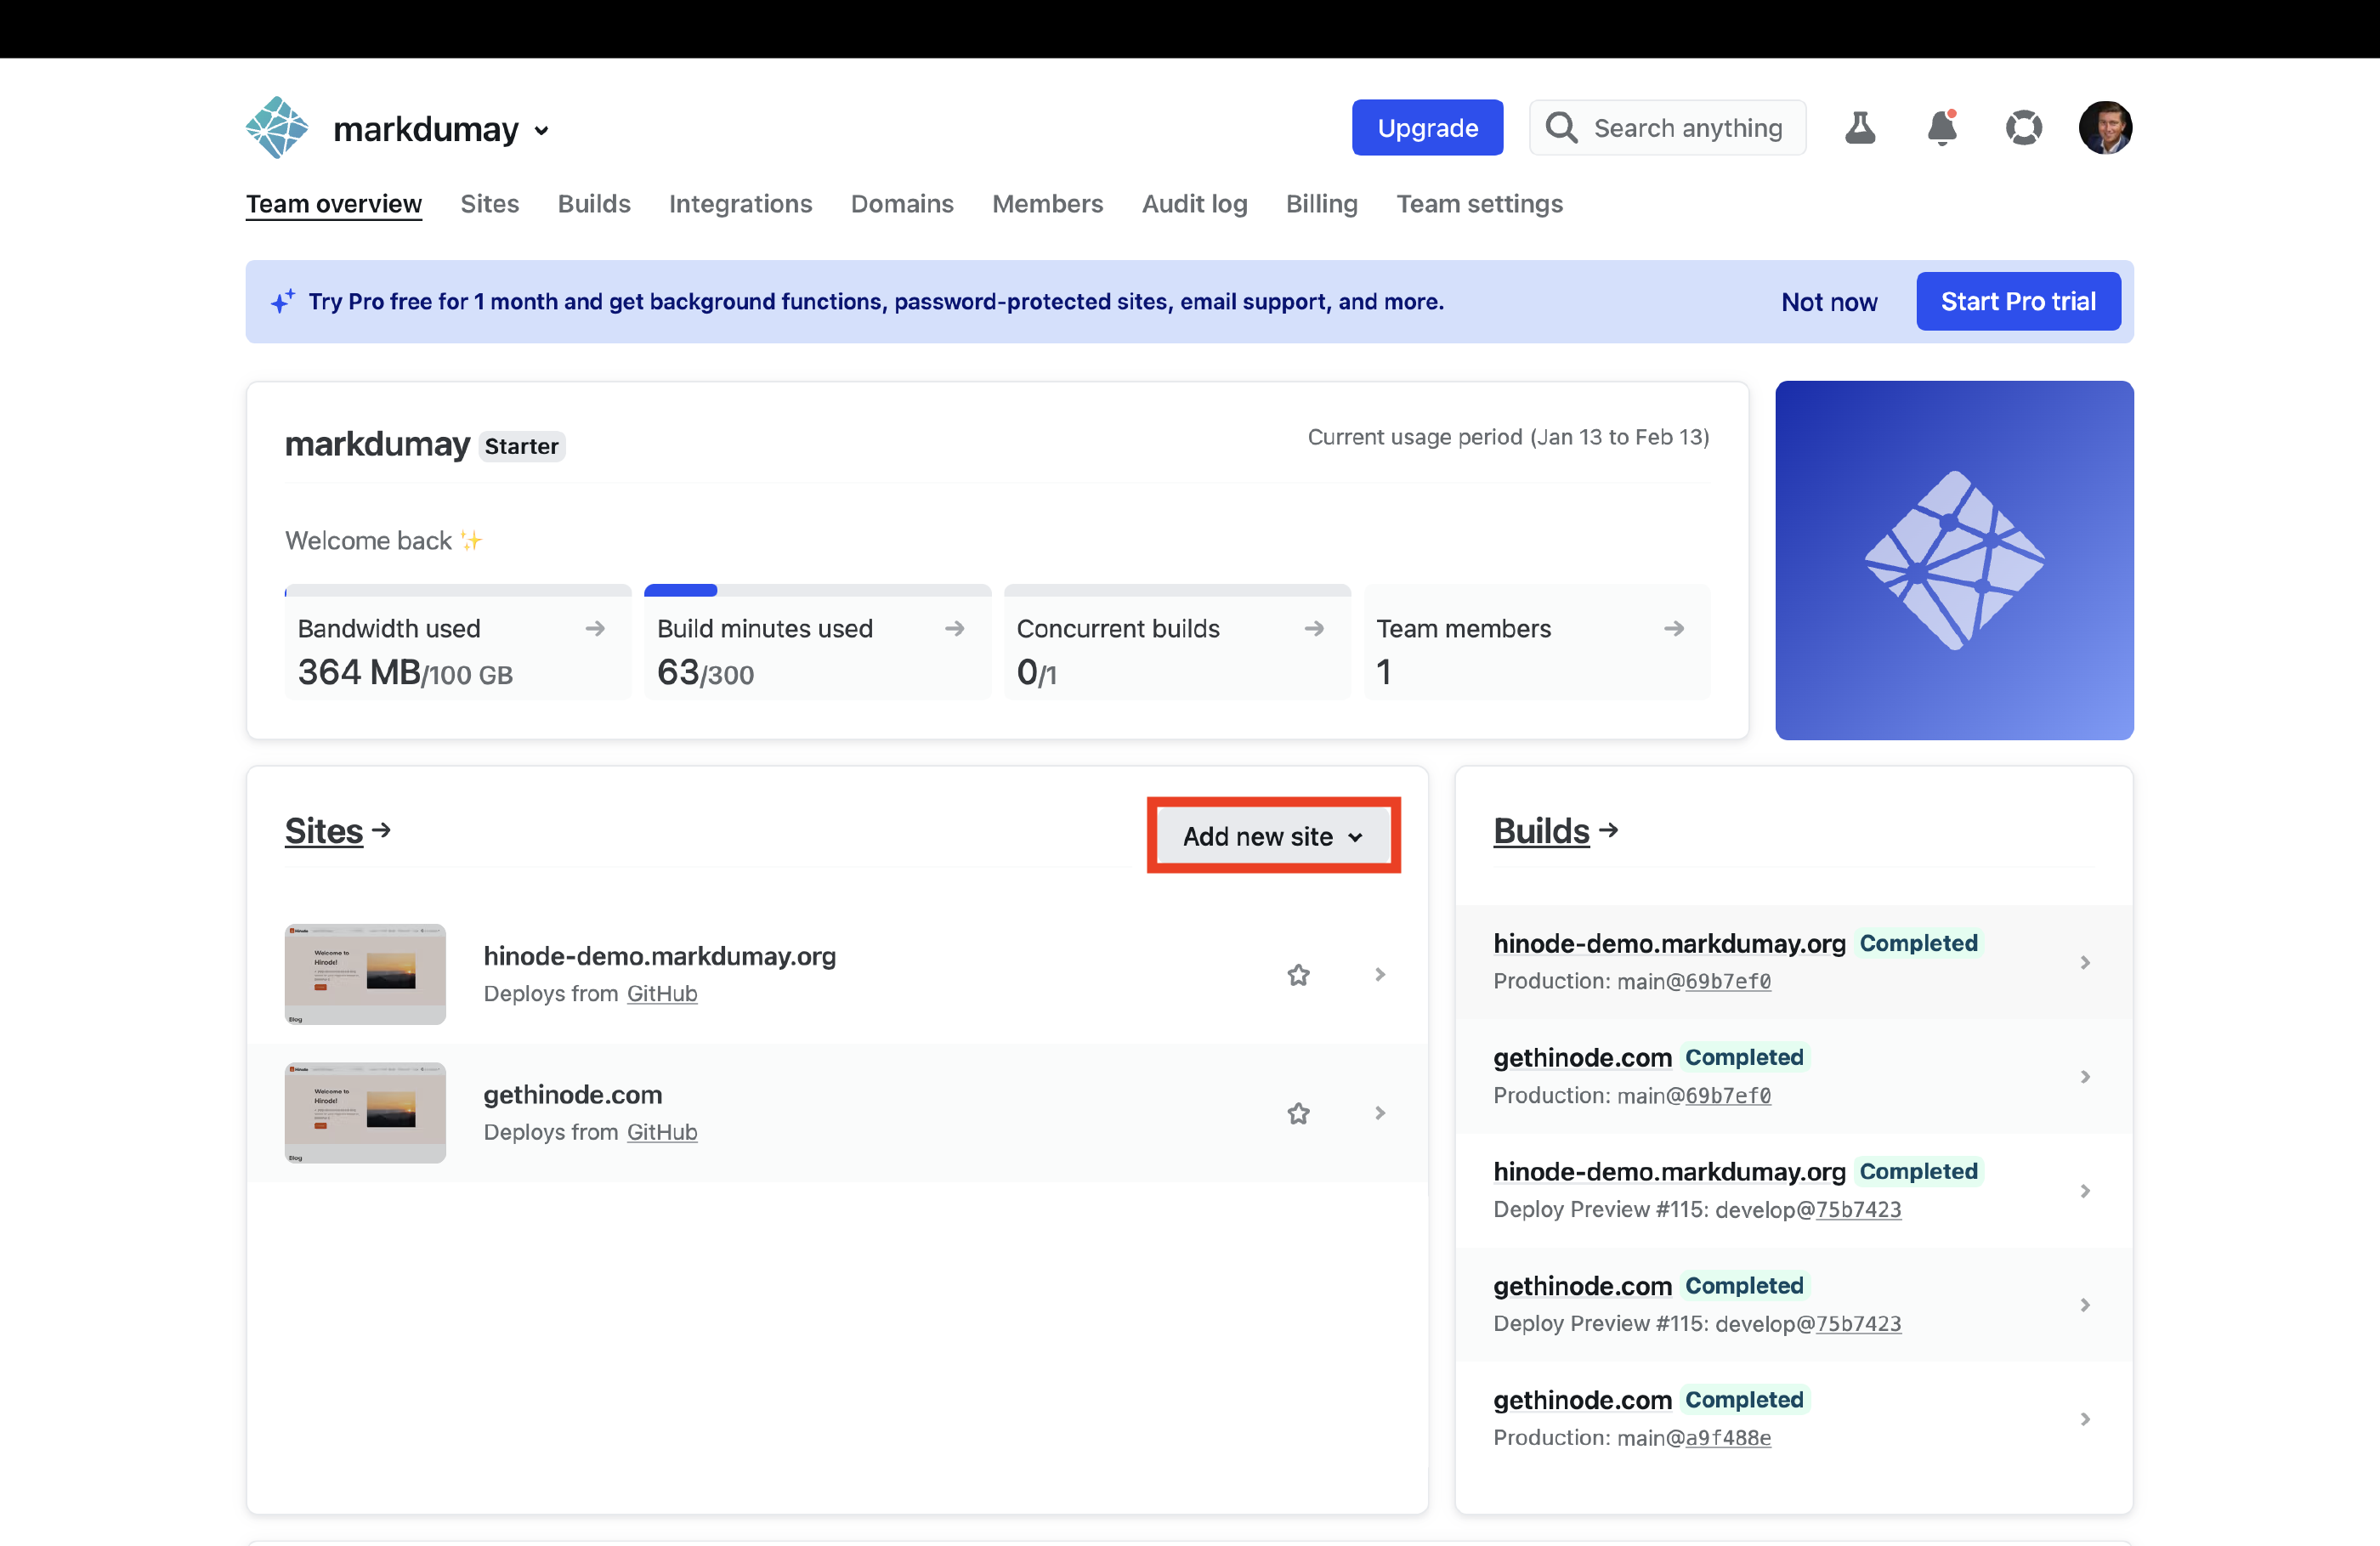
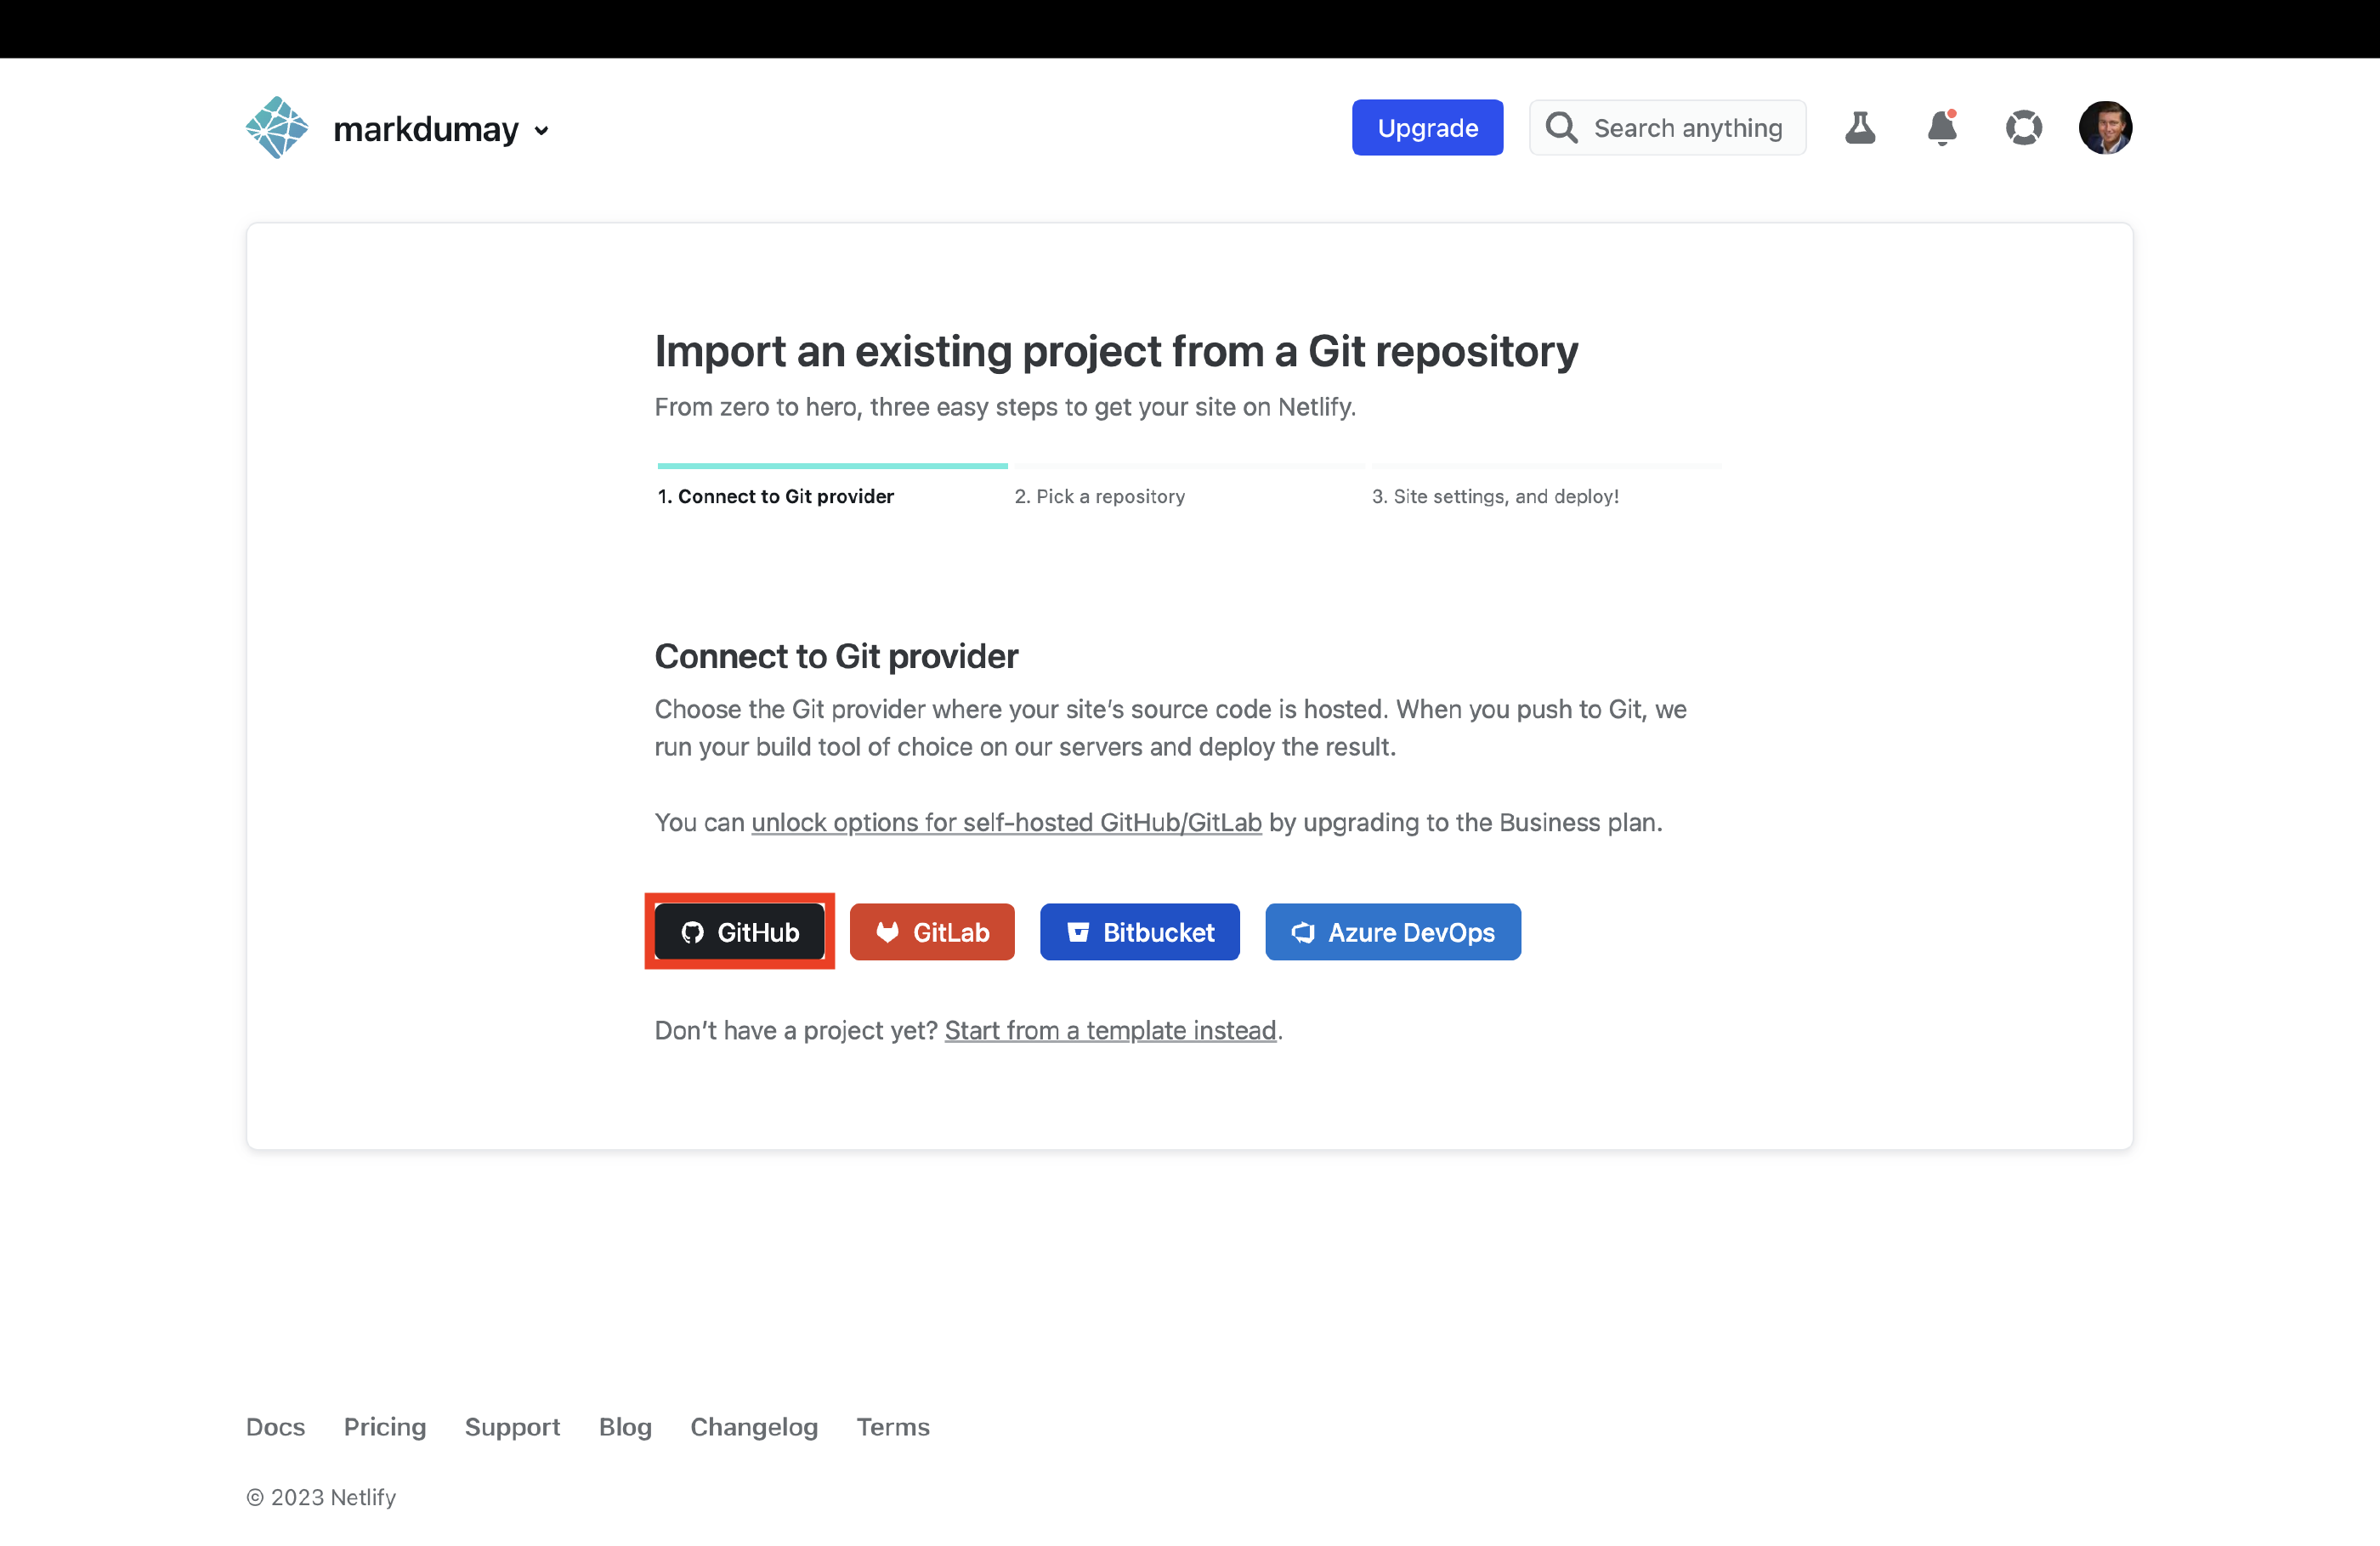
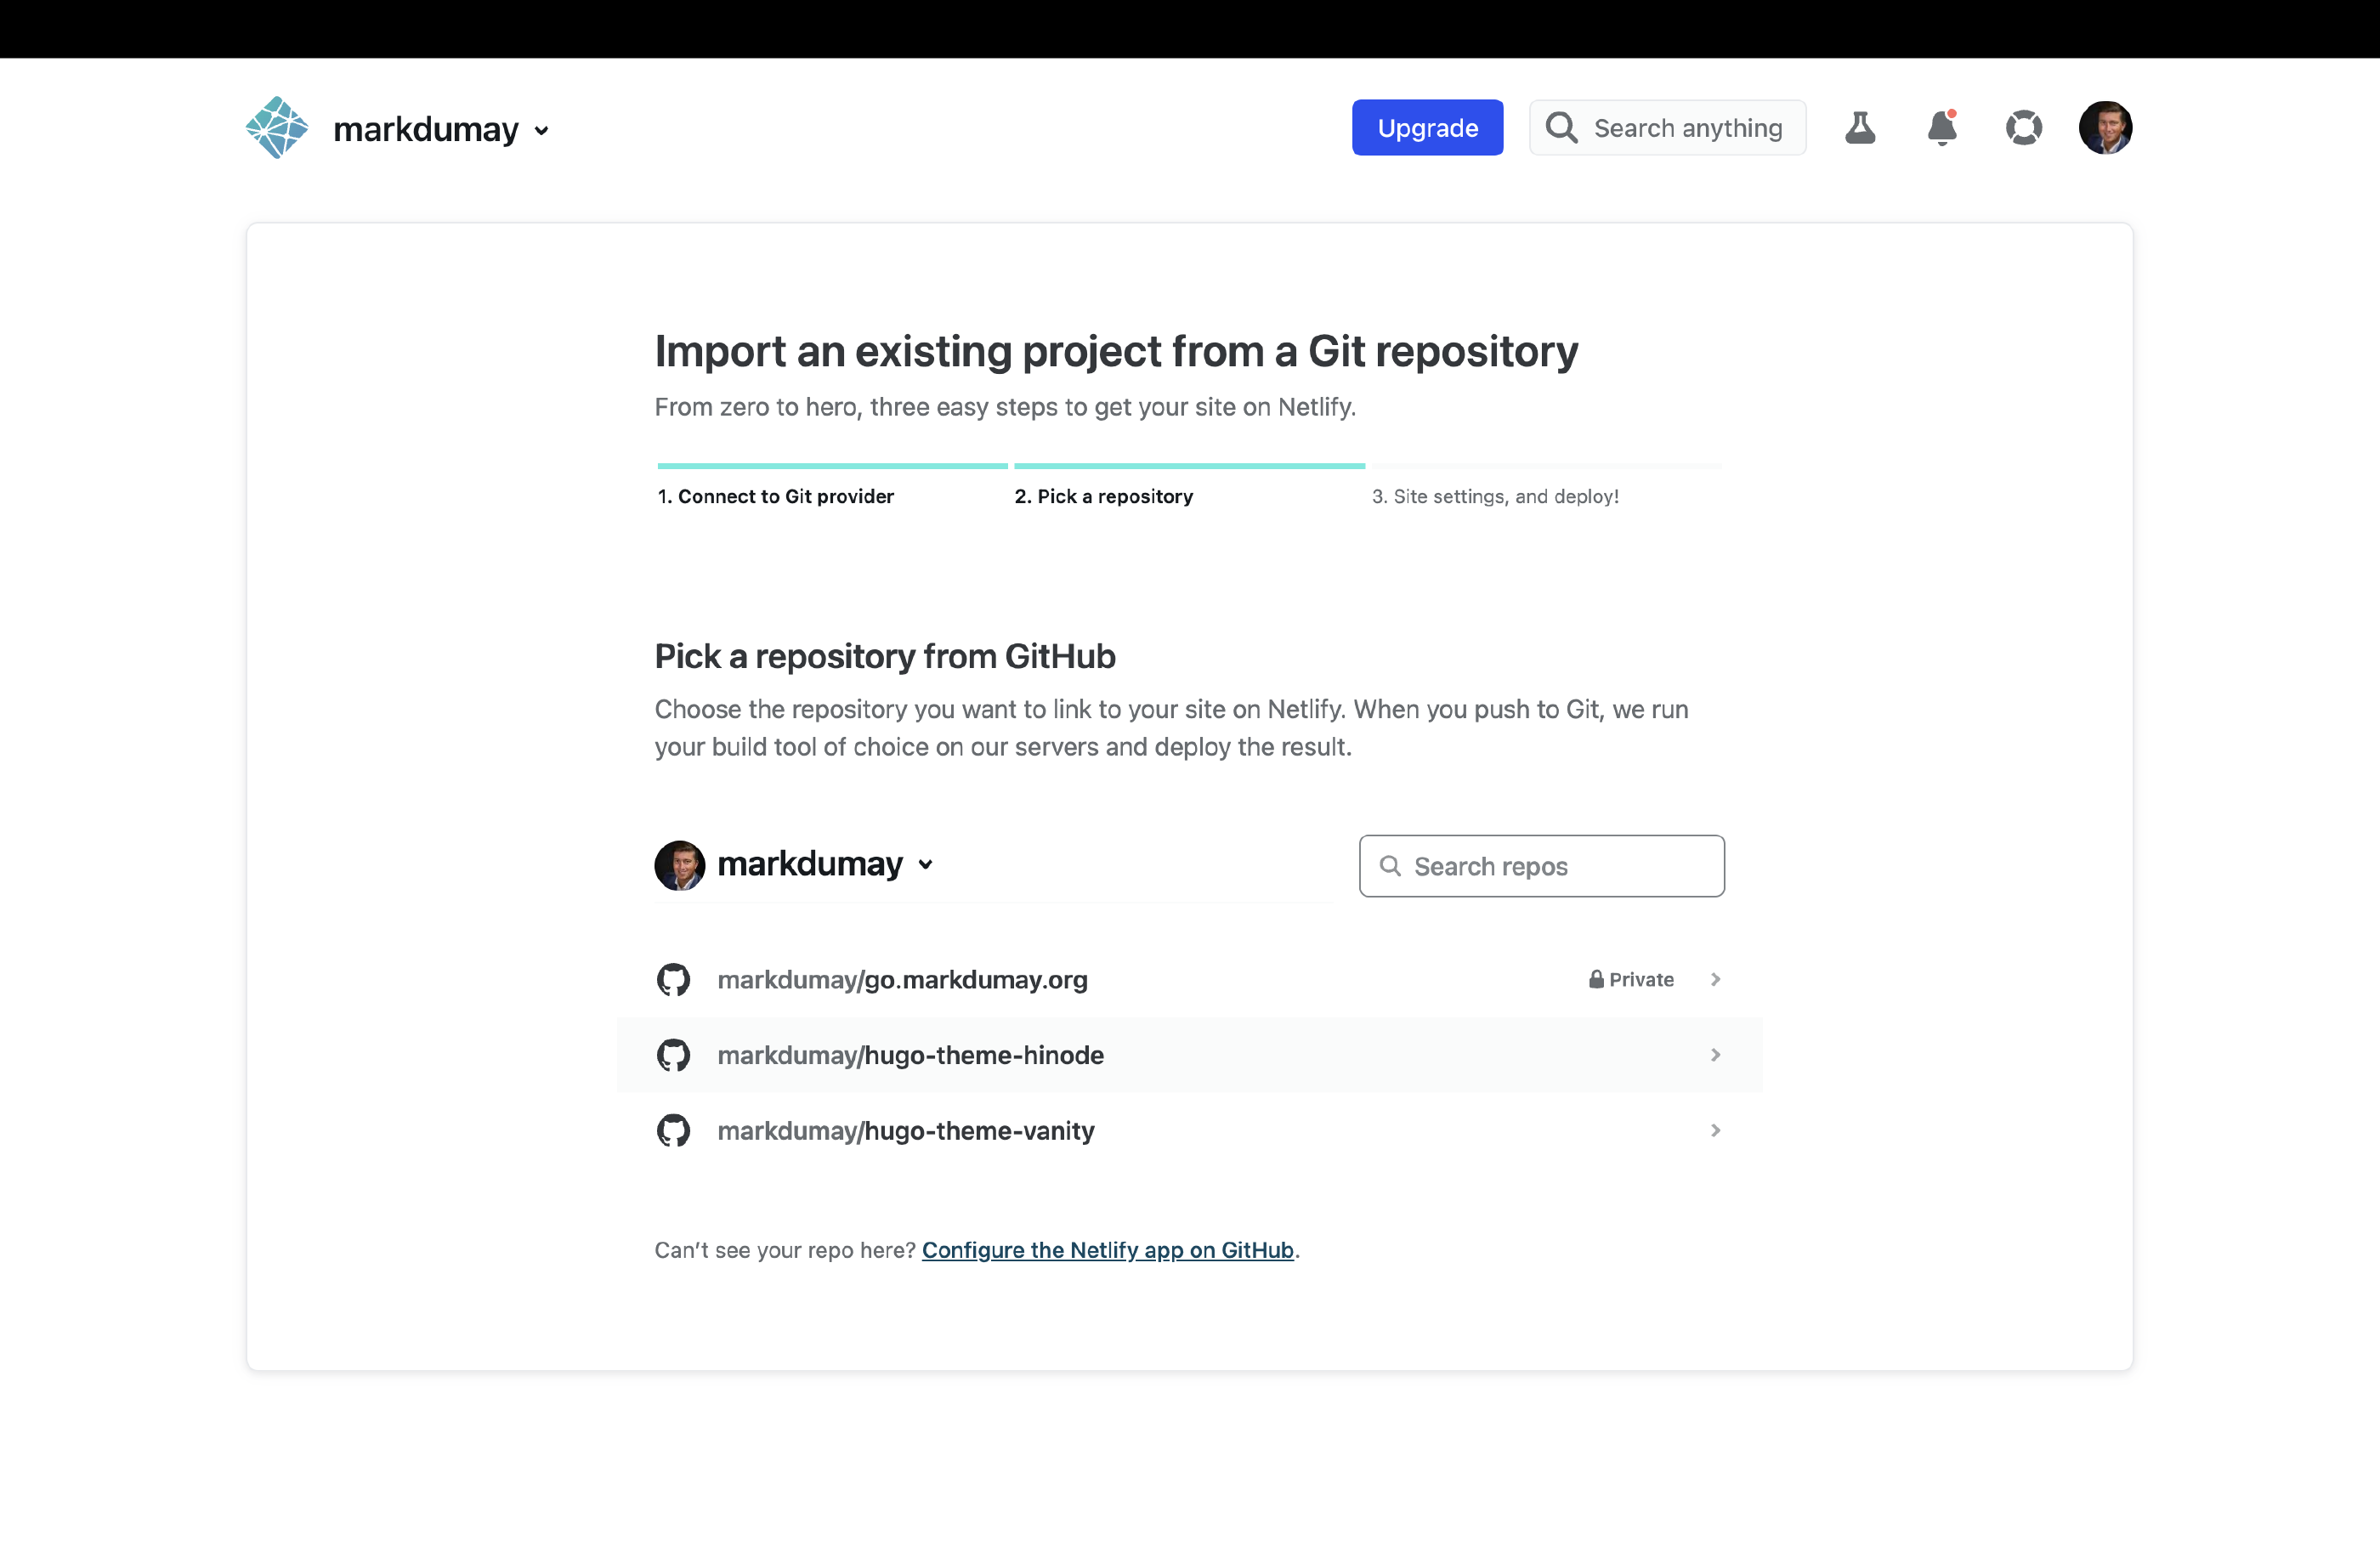

Sign up. Select your preferred signup method next. This will likely be a hosted Git provider, although you also have the option to sign up with an email address. The next steps use GitHub, but other Git providers will follow a similar process.Add new site to set up a new site with Netlify.Deploy site to start the build and deployment process.Your site is now ready to be used. Click on the domain settings of your site within the Site overview page to provide a domain alias and to edit the site name as needed. The same section also allows the configuration of a custom domain. Be sure to review your
Server Configuration if you encounter any rendering issues, such as broken links or garbled stylesheets.